Tuesday, January 5, 2016

Adding Detail to Stamped Images

Hello everyone!  I'm here to share a card for Tip Tuesday for Craftin Desert Divas!!  And its all about adding some detail to your stamped images.
I used the umbrella from the Rain or Shine stamp set repeatedly and focused my attention on the centre umbrellas.


I die cut the centre section with one of the scalloped stitched circle dies and coloured that section using my Spectrum Noir markers in bright colours.  For the outer section, I stuck with shades of grey.
I then cut out 3 more of the same circle die out of black cardstock to give the centre panel some dimension.

 But to add that extra bit of detail, I used a white gel pen and Glossy Accents to add some dots and stitch lines.  This simple trick adds so much!!  Here is the card I created...I hope you enjoy!!


Here are the CDD products I used:

Rain or Shine
Fancy Frame Dies
Stitched in Circles Dies


Friday, January 1, 2016

Valentine Season is Here!!

Hello everyone!!  Well, Christmas is over for another year and that can only mean one thing...its time to start Valentines Day cards!!!  I think this is my favorite time for card making!!  I get bored with Christmas trees and pinecones and holly quickly.  I NEVER get bored with flowers and hearts and cute critters!!!
I recently received an order from Paper Smooches...I had a couple of gift certificates to spend!!  I got a couple of older sets and their new Love Word 2 die.

I started by blending Distress Inks on watercolour paper in the shades Spun Sugar, Worn Lipstick and Picked Raspberry going from light to dark.  I blended just enough that the word die would fit.


Now, this is the reason why I LOVE this die...

There are so many ways to use this!!  I ended up using the positive love but look at the negative pieces!!  The negative letters are awesome..will definitely use those in a later project!

I wanted to try some inlaid die-cutting (haven't done it in awhile) so I got out the Frame 3 die and adhered the Love die in the centre and ran it through my Cuttlebug.


It cut "just" enough for the word to fit!!  I ended up adhering it into place with some small foam squares on each end.  The centre part of the word is just floating..I don't have the patience to cut tiny pieces of foam squares!!  I may have to be a hand delivered card :)


I should also mention I sponged lightly around the edges of the frame with Hickory Smoke Distress Ink.  I wanted to stamp a little "you" below the love but inside the frame.  I dug through my Paper Smooches stamps because I love the font!  I found a small "you" and masked off the surrounding sentiment.

I also drew a little mark where I wanted to stamp.

Next I colored in a cute little bird from the My Peeps stamp set with my Spectrum Noir markers and die cut it with the co-ordinating die.  I adhered him above the frame with a little ink blended die cut heart and finished the card off with some Sparkling Clear Mix Sequins from Pretty Pink Posh.


Hope you like it!!
Have an amazing day and oh yeah,

HAPPY NEW YEAR!!!

Laurie


Monday, December 28, 2015

Amazing Card

Hello everyone!!  I'm here to share a card I made with some new goodies from Simon Says Stamp.
I started by heat embossing the Lattice Grid background stamp in white embossing powder on watercolour cardstock.


I then took Twisted Citron and Peacock Feathers Distress Inks and did a bit of ink-smooshing.

I then stamped out the floral images from Peaceful Wildflowers from My Favourite Things in the colours Fog, Smoke and Slate (3 Shades of Grey), all from Simon, on the coordinating die cuts.
I trimmed down my smooshed panel to fit behind the aperture I cut in my panel using the Stitched Arch Dies, also from My Favourite Things.


As you can see, I die cut one of the Amazing words from the Doubly Amazing die set on grey cardstock, then heat embossed a sentiment from the coordinating stamp set, on the same cardstock.

I adhered the flowers with a combination of glue runner and foam adhesive, inside and outside of the window.  I adhered the Amazing die and stamped sentiment with TomBow Mono.  And no card is complete without Wink of Stella...which I placed on the flowers and Amazing.

Here's a close-up of the sparkle...


And the full card...


Hope you enjoyed!!

Stay Crafty my Friends!!

I just wanted to mention that most of my shopping is done at Simon Says Stamp which is why I link all products to them!!  :)


Wednesday, December 23, 2015

Paper Smooches, Clean & Simple

Hello everyone!!  It's almost Christmas and I'm here to share a non-Christmas card.  Quite honestly, I am SO done with Christmas cards!! I had a great time making them and sending them out, but I don't want to color another Santa for at least 10 months!!

I struggle with clean and simple cards, it's a fact.  I love layers, I love thick, bulky cards with embellishments.  But I've been seeing so many beautiful clean and simple cards out there.  One of my favourite card makers has to be Kay Miller...her work is gorgeous!!

I started with a 41/4 X 51/2 white card base to make a top fold card.  I cut a mask out of Full Adhesive 3M Sticky Notes (love them) with the second largest circle from Simon Says Stamp Stitched Circles.

I placed the mask in the centre of the card.  I then lightly sponged some Tim Holtz Worn Lipstick Distress Ink around the circle and slightly to the diagonal corners.


With the mask still on I stamped the large leaf image and the triple solid dot image from the Relections stamp set from PaperSmooches in VersaFine Black Onyx ink.


I then die cut each butterfly from Butterfly Duet Dies from Paper Smooches on the smooth side of watercolour cardstock.  I used my new Lyra Water Soluble Crayons to color them.


I'm pretty impressed with these crayons, vibrant colors and blend easily.  Plus, they were a gift from my boss!!

I stamped a sentiment from the Sentiment Sampler stamp set in black on white cardstock, then matted it on black.  I adhered the butterflies with a combination of glue dots and foam adhesive to the centre of the circle and placed the sentiment underneath.

And no card of mine, clean and simple, or not, is complete without glitter and Glossy Accents.  I added some Sakura Clear Stardust pen to the "body" of the butterflies and antennae as well as the medium sized dots and applied Glossy Accents over top.


Hope you enjoyed!!

MERRY CHRISTMAS EVERYONE!!

Laurie


Saturday, December 12, 2015

Simon Says Stamp Flickr Challenge #34 and Card Share

Hello Everyone!!  Just dropping in to show a few cards I've made this past week!  This first one, I'm going to enter in SSSFlickrChallenge #34, which is all about die-cutting.  I love me some die cutting!!  I went through my stash of SSS dies and used one I haven't used before which is the  Sketch Gift die and a few I haven't used in awhile..Frames Dies, the Wishing Die and the Falling Hearts craft die.
I wanted to see if I could make a card using ONLY die cutting..in the end, almost :)
I also, did not, want to make a Christmas card!!  I am SO over that!!
So, I ended up making a birthday card, almost completely die cut and almost entirely out of glitter paper!! The paper I used wasGlitter Silk cardstock from Co'ordinations.


And a close up:

So sparkly!!!  As you can see, I did stamp a tiny greeting under the Wishing die (from the co-ordinating set).

And finally, I'll share just a couple of cards.  Both of these were quite labour intensive, hahaha!

I tried for a tone on tone effect here with my Spectrum Noir markers. Its....okay.
And the last one took me A LONG TIME...I did have to get up and walk away a couple of times.  I started to get bored of looking at the same image for so long!!  But I persevered...


Hope you enjoyed!!!

On a side note, I'm headed out of town for a week. Is it bad that I'm going to miss my craft room immensely???  I've been colouring up a storm these past couple of day to make up for zero crafting time this week...I'm such a craftaholic....

Thanks for stopping by!!

Laurie


Saturday, December 5, 2015

Thank you card with Simon Says Stamp

Hello Everyone!!  I'm going to share a card I made today using some old and some new goodies from Simon Says Stamp.
First I cut a panel of watercolour cardstock using my NEW Stitched Rectangles from Simon...wanted these for so long and managed to snag them at 30% off on Black Friday...score!!
I then stamped different sizes of solid hearts from the Tons of Hearts stamp set in Distress Inks.  I should mention I did a little practice run at this...
After I stamped the hearts I spritzed the paper with plain water, which created this pretty cool effect!!
I thought that in a few places the hearts seemed to lose their shape, so I decided to stamp the outline shape in the same colour.
Now, of course I thought they were too defined, lol!!  So I took a wet paintbrush and pounced it over the line stamps.
I then misted the entire panel, lightly, with Perfect Pearls and water to give it a subtle shimmer.  Next, I used the Thanks Scallop Border Die from Simon.
I thought it looked a bit plain, as I was layering this piece on Ivory cardstock.  So I die cut the Thanks die out of some Green Apple cardstock, and inlaid the letters..
I used the Many Thanks stamp set from Mama Elephant to finish off the sentiment, foam mounted to my ivory card base and placed three pink hearts below.

Hope you enjoyed and thanks for stopping by!!

Until next time....Stay Crafty!!

Laurie


Monday, November 23, 2015

The Evolution of a Card

Hi Everyone!!  I wanted to show you how this card evolved from one idea to something entirely different.  I think it probably happens to all of us!!
When I go to my craft room I always bring my iPhone or iPad with me.  Just in case I get a blog-worthy idea and I can document it, 9 times out of 10, it isn't blog-worthy, lol!!  Although, I really need to start posting more...even the fails!!  Well, I guess you can say this card started out as a fail...

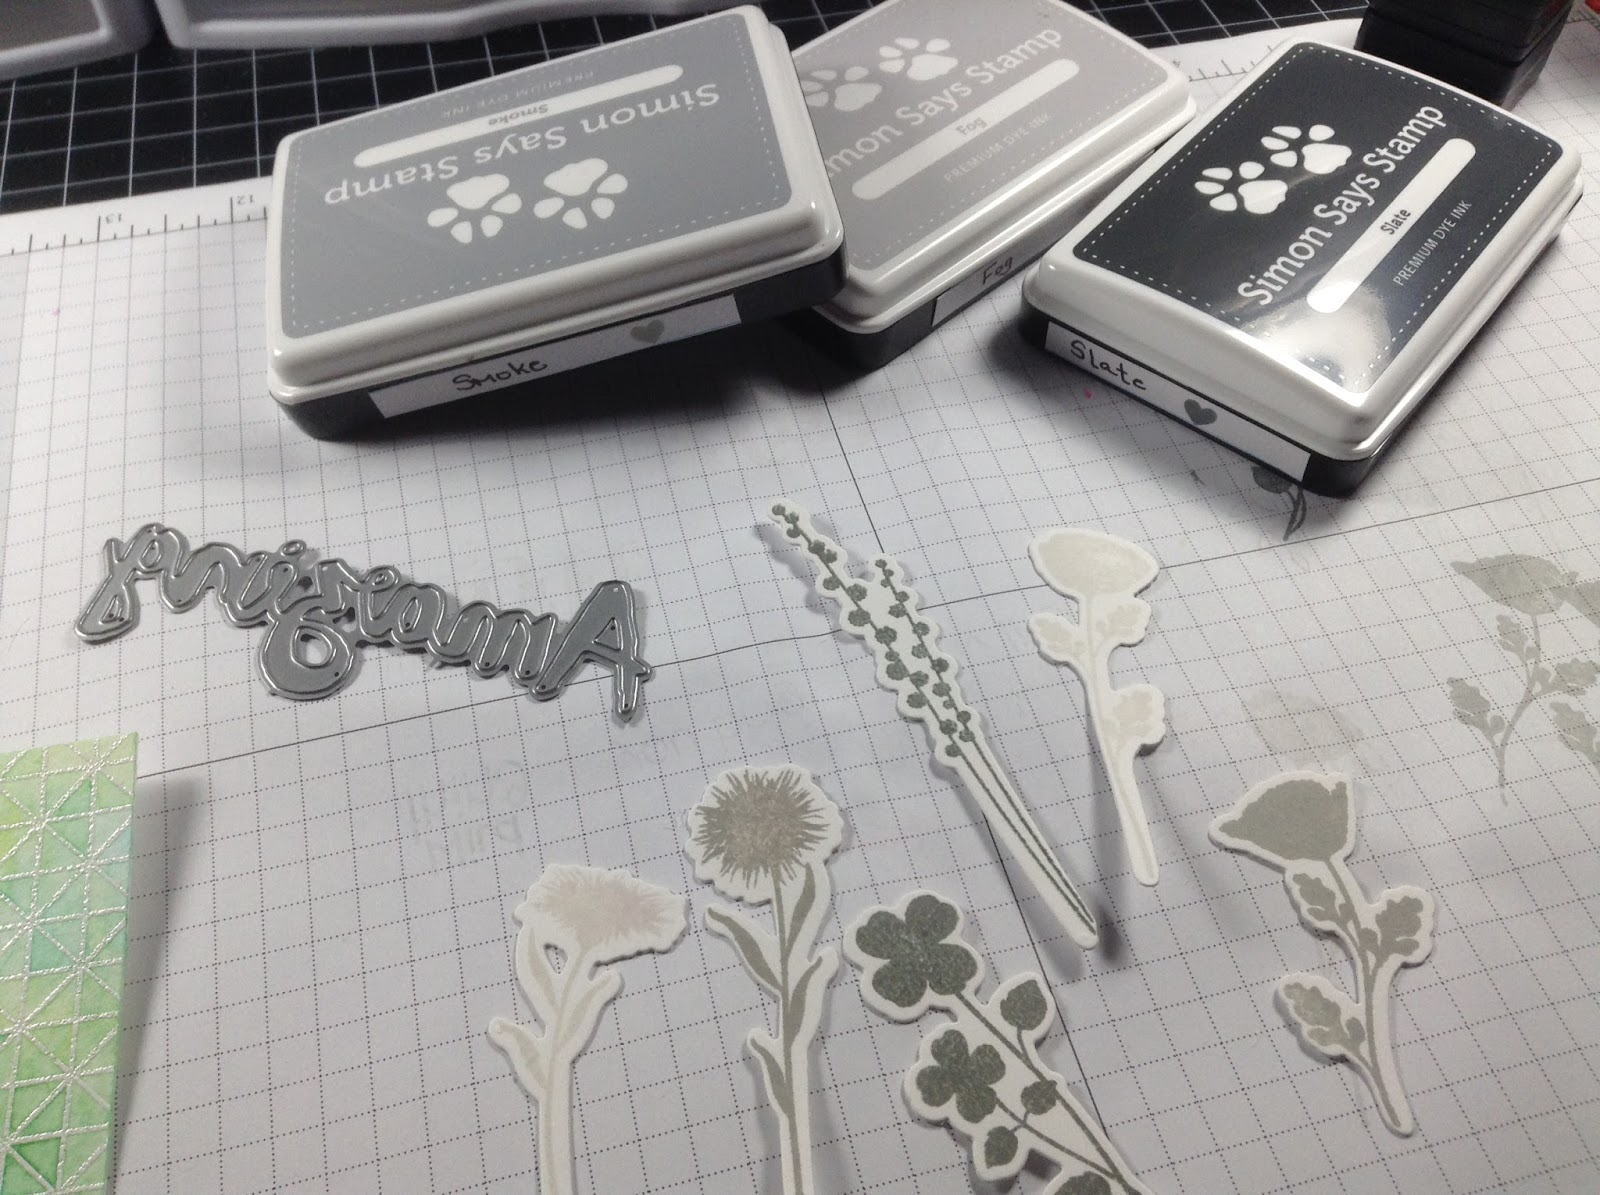
I apologize in advance for the numerous photos..

So, it started with a background cling stamp from Impression Obsession called Leaf Flourishes (linked to Simon Says Stamp). I hadn't used it yet and thought I would pull it out.  I also knew I wanted to do some sort of watercoloring.  I heat embossed the image with clear embossing powder on to watercolour cardstock...mistake #1.  The image was almost impossible to make out, but I tried anyway.
I painted as many leaves as I could spot but just wasn't happy with the results (there are quite a few flourishes on the stamp as well, so there was a lot of unpainted area).  I took out some Worn Lipstick Distress Ink, and sponged the entire thing. Then I thought it needed some Brushed Corduroy Distress Ink...oh my, mistake #2.

Yup! There it is! It would've made a lovely sofa pattern in the 80's, don't you think?  So, here is where  my brain started working.  Let's try to freehand watercolour before stamping a floral image.  I got out the Doodlie-Do Stamp set from PaperTrey Ink and chose a stamp.  I started to watercolor behind the stamp, trying to put a specific color in the right spot i.e.: red for flowers, green for stems/leaves.
When I was done, I placed the stamp over top and....it didn't line up.  I know its a loose-goosey type of card but I really didn't like it.
I thought I could take some of the separate images from the set and stamp them over each part of the watercolour.  But as I took a close look at what I had created, I decided to Stop Right There!!  This was my very first freehand watercolour!!!  I knew if I stamped over it, it would be ruined.  So, I ended up adding a few splotches of color to each part and...stopped.

To finish things off, I used a Stitched Square Die from Simon Says Stamp to cut out my "flowers".  I misted it lightly with some Perfect Pearls (in the shade Perfect Pearl) mixed with water to give it a wee bit of glimmer.
I used my scoring board to score some lines around the edge of the card base (1/4" around all sides).  I really wanted to keep this as clean and simple as I could, which is rather difficult for me!!  I thought about tying some black ribbon around the card but the only ribbon I has was rather thick, so I skipped it!!  I stamped the sentiment, also from the Doodlie-Do stamp set, added a few Sparkling Clear sequins and called it done!!

 Sorry this post was rather long, but I really wanted to show you how my thought process works sometimes!!
Hope you enjoyed!!  Until next time...Stay Crafty!!

Laurie

PS:  I did not throw away the 80's sofa panel...will try to do something with it :)


Featured Post

A Simple Thanks Card

Well, well, well. Look who decided to show up...me! It's been an awful long time yet again. I seriously thought I'd be well out of t...