

I hope you hop along with us as there are going to be fabulous projects and amazing tips on the tool. Oh ya, and PRIZES!! Stay tuned until the end of this post for a complete list of blogs and the one rule you must follow to be eligible to win!
When the Misti first appeared on the market, I didn't think I needed one. But after watching numerous videos of stampers using this product, I took the plunge and never looked back. Today, I can honestly say that I CANNOT live without this tool!!
I started with the Original Misti. I love the size of this one because it has the room for you to move your card panel or base to help place larger stamps. Also, love it for background stamps!!
I was then lucky enough to win a Mini Misti. This size is perfect for stamping multiple images or sentiments. I would have to say that I use the Mini more but am so happy to have the Original!!
Apart from stamping multiple images at once, double or triple stamping and getting perfect placement, I'm going to show you four ways I use this fantastic tool. So let's get started!!
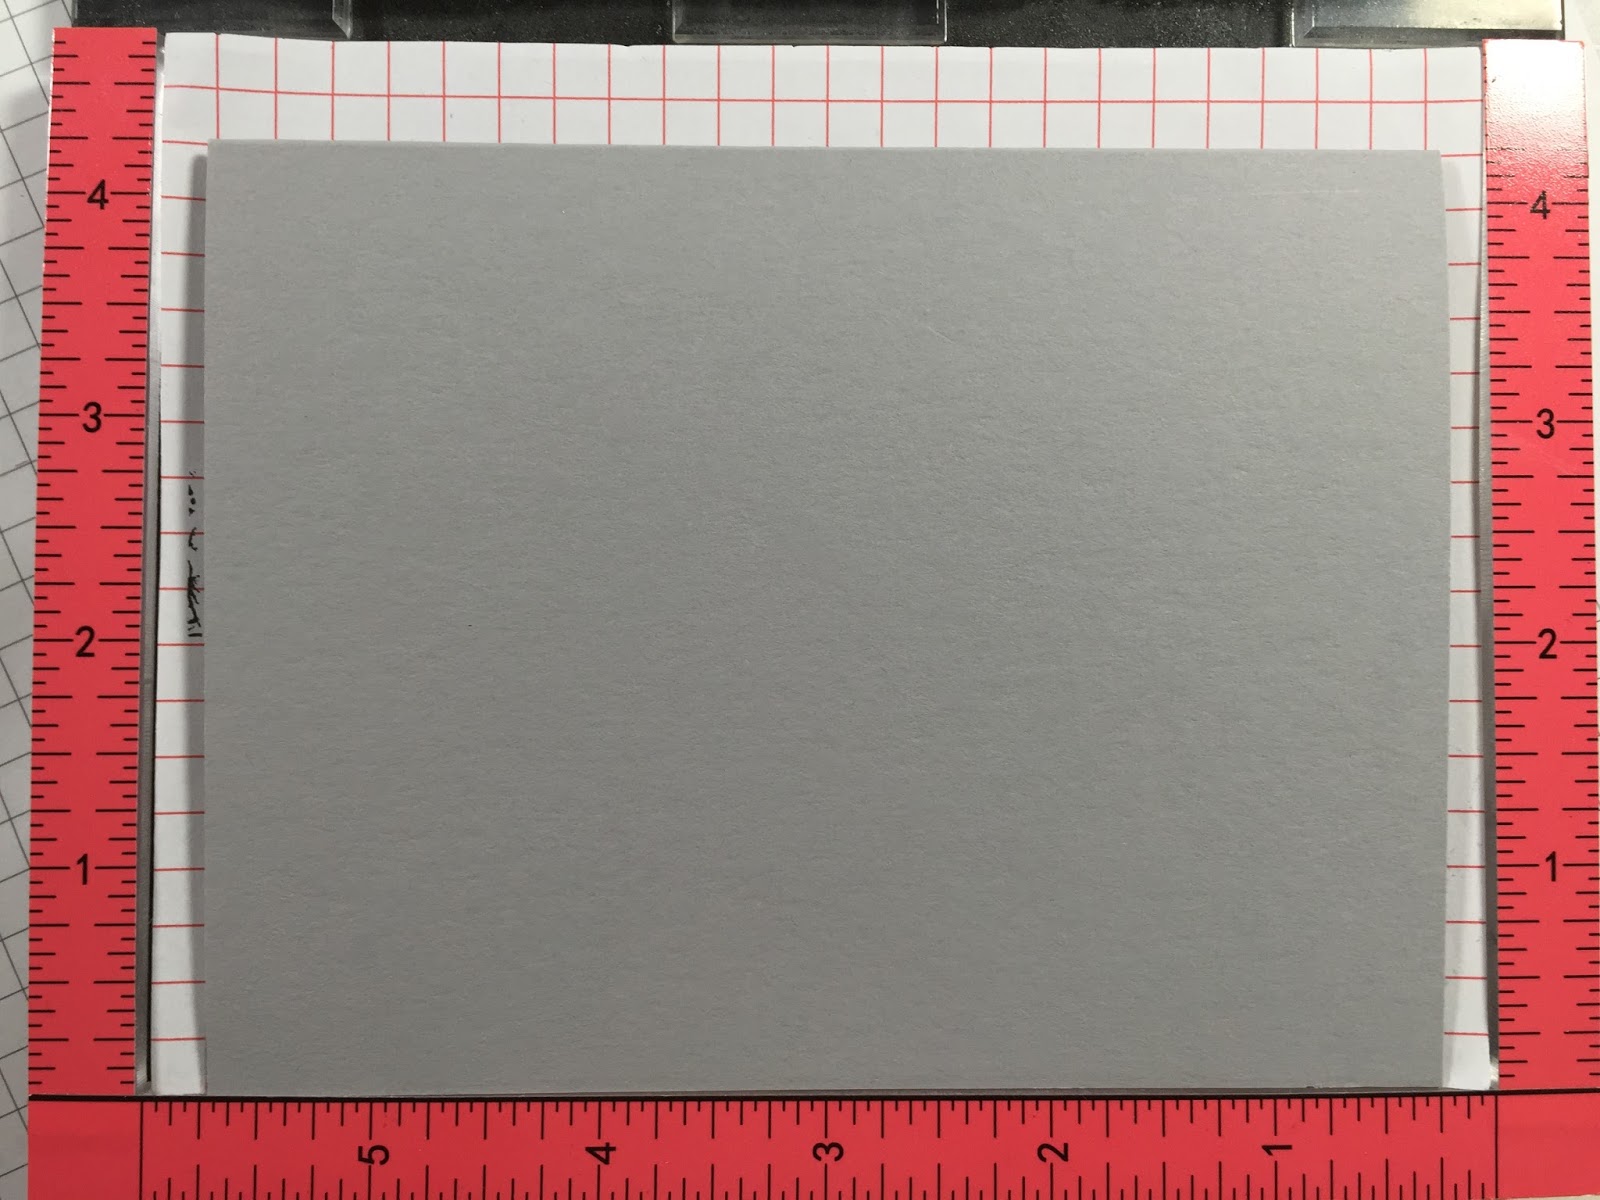
I started by placing a 4.25 X 5.5 inch card panel into my Mini Misti. I lined up the large border stamp from the Zen Floral stamp set a half of an inch towards the middle of the panel.

This is so easy to do because of the measurements on the Misti itself combined with the grid paper. I stamped the image with Memento Grey Flannel Ink. This is the first stamping;

It stamped pretty good the first time but I decided to ink it up once more for an even bolder image.

To create a border to frame my sentiment, I simply rotated the paper 180 degrees (I did not move the stamp). This allows for perfect measurements on either side of the card panel.

I inked up the stamp, closed the door and voila!!

You can see that there is exactly the same amount of white space on either side of the panel. Yes, this is possible to do with a block or stamp press but there is NO second guessing your placement with the Misti!!
The second tip is using solid dies. I prefer open dies but sometimes you just don't have that luxury. I am terrible at lining up stamps to their die cuts. I always end up with more white space on one side. Here's how I solve this problem. I start by cutting the die out of the cardstock I want to stamp on. I place the negative space (the paper with the cut out, not the die cut piece itself) into the Misti. In this case I used the "beautiful" die from the Beautiful Life Honey Cuts.
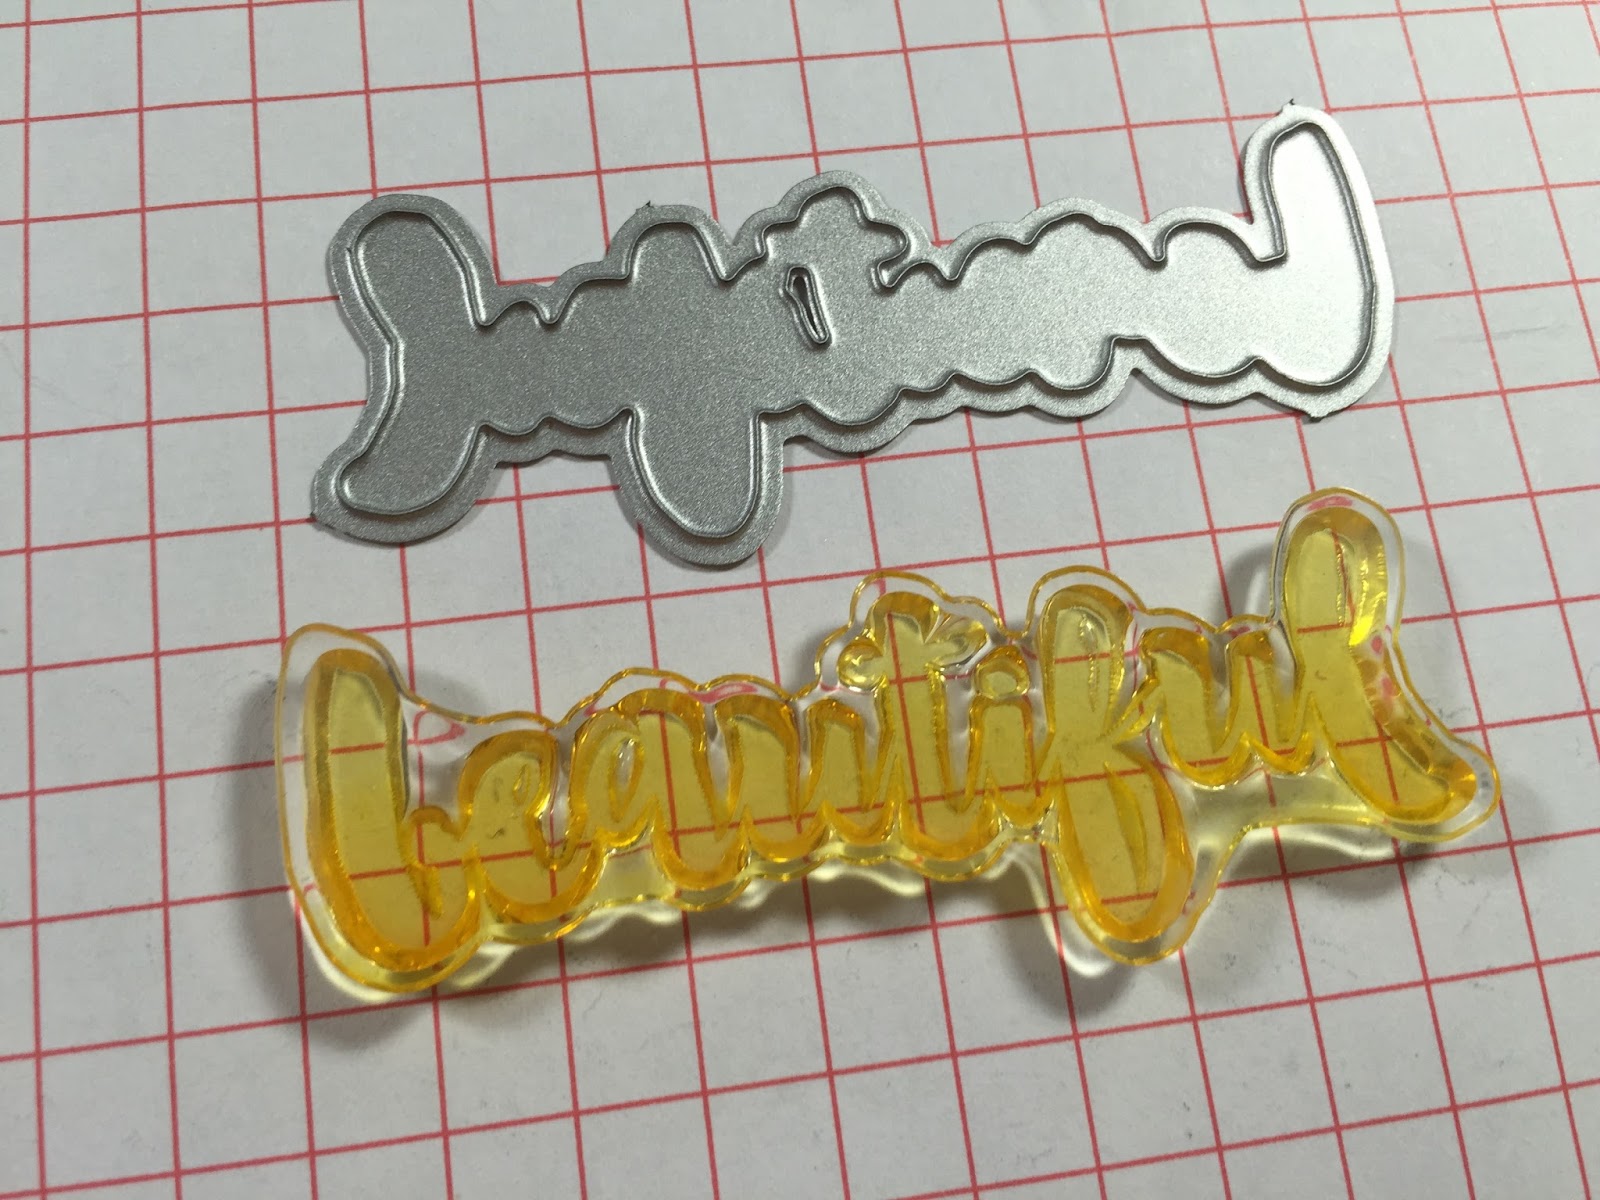

I line the Matching Stamp up in the negative space. Before placing the die cut, I ink up my stamp and do a test run right onto the grid paper. This allows me to see if any adjustments are needed. Now that the stamp is in the perfect place, I place the actual die cut into the negative space and stamp. This brings us to the third tip...ombre stamping!! Oh, how I love the look of ombre. I chose three shades of purple for my sentiment, a light, medium and dark. I inked up the entire word in the lightest shade.

It turned out a little splotchy but that ok because we're adding more layers! I then used the medium shade and inked up the lower half of the stamp. To make sure you don't get a harsh line, just dab a bit of the ink away with your finger before closing the door. Next, add the darkest shade to only the lower bits of the stamp, dabbing away the harsh line. You could stop there but I like to clean off the stamp and ink it up with the lightest colour again and stamp. The blend is beautiful! I loved it so much I stamped and ombre heart as well.

Now, its time to add some details to my panel. I took the Zen Floral Honey Cuts and instead of cutting the floral borders out, I used the die to emboss. After placing the die over the image, use rubber embossing mats and your embossing sandwich and run through your die cut machine.


It creates a nice subtle texture. I trimmed my panel down to be slightly smaller than an A2 sized card base. It's now time for the fourth tip! I am quite awful with lining up my panels straight on the card base. So I used the Misti to help. I place a tiny bit of dot adhesive to the inside of the base (to keep it from popping open) and line it up in the Misti. You can see I leave a quarter of an inch on either side.
Then using the measurements and the grid paper, I can line my panel up straight!

I used foam tape to adhere the panel to the cardbase and also to mount my word die and heart. I added a bit of colour to a few of the florals by using the same purple inks and a blender pen.

To add a little sparkle, I added a few Diamonds, Clear Wink of Stella and some Glossy Accents!!


I hope I was able to give you some ideas on how to use the Misti! If you don't yet have one, I encourage you to try one out. They are truly worth the investment.
Now, onto the prizes!! Up for grabs is:
1. Your choice of an Original Misti or a Mini Misti from the My Sweet Petunia Store
2. $45.00 Gift Certificate to Honey Bee Stamps!!!
All you have to do is leave a little love on each blog on the hop, that's it!! Winner of the Misti will be announced on April 7, 2017 HERE.
Winner of the Honey Bee Stamps Gift Certificate will be announced

Here's the entire hop:
Laurie Case (YOU ARE HERE)
Thank so much for taking the time to join us today!! Have a great day!!


