Showing posts with label crystal clear sequins. Show all posts

Monday, July 24, 2017

Die Cutting and Colouring Birthday Card!

Hello everyone and welcome back! I'm here to share a super fun birthday card for Studio Katia!  One of my favourite things to do is die cut!! There is something so satisfying when you remove that piece of cardstock from the die.  Another one of my favourite things is colouring.  I recently invested in some Copic markers and am loving them!! So, let's check out my project!!

I started by cutting the rectangle die from the Dotted Patterns Set 1 out of some white cardstock.  I knew I wanted some sort of banner on this card so I took the small scalloped edged die and ran this through also with white cardstock.
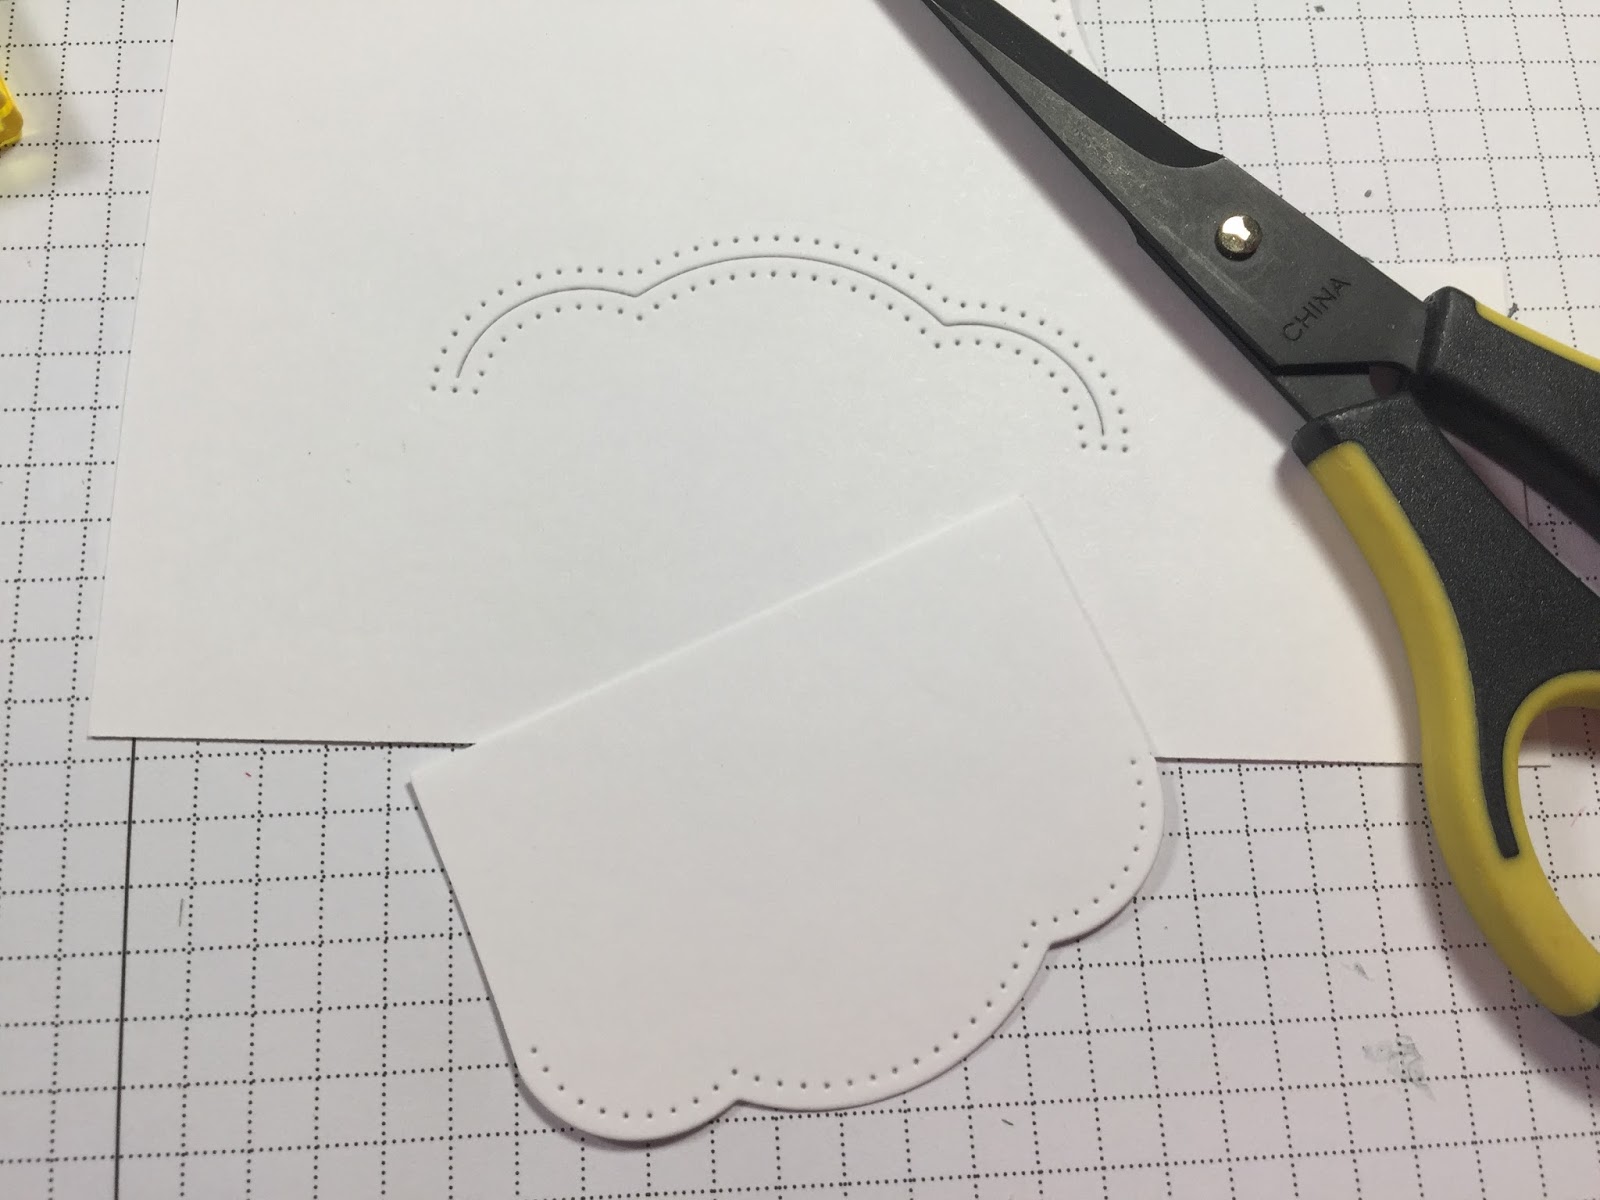

This particular die is very cool.  It can be used to create pretty slits in your projects to insert gift cards, etc.  In this case, I trimmed it to become a banner shape.  I layered this piece onto black cardstock and trimmed around it to give some contrast...you will see this in the finished card :)

Next, I stamped the presents and party hats from the super cute Kobi the Birthday Bear stamp set and chose some Copic markers.

The presents to the right was a total human error! Please ignore.

I love the shapes and designs on these images! Whimsical and so much fun to colour!  I die cut everything out with the Co-ordinating Dies.


Before I put my card together, I decided the white panel was a little too stark, so I squished some Black Soot Distress Ink onto an acrylic block, added water and using a brush, created some splatters.


I started by adhering my banner directly onto the card panel.  For the sentiment, I white heat embossed "Happy Birthday" onto a strip of black cardstock (the sentiment is also from Kobi).  I snipped one end to make a fishtail banner.  I adhered this on top of the banner.


I placed some black and white ribbon around the top of the banner and sentiment and adhered the panel on to a white cardbase using fun foam.  I adhered the hats and presents in a fairly random order using a combination of tape runner and foam adhesive.


For a bit of added sparkle I used various sizes of sequins from the Crystal Clear Fusion...love these things!!

I hope you enjoyed todays project and got inspired to do some colouring and die-cutting!!  Thank you SO much for stopping by!!


Have a great week!!!

Laurie


Tuesday, July 11, 2017

Christmas in July with Studio Katia!!


HO, HO, HO!!!  This week at Studio Katia we've been celebrating Christmas early!!  On one hand, it's nice to mix things up in the middle of the year by taking out your winter stamps and having a play.  On the other hand,  it's too soon to think about snow and winter (we get about 6-7 months of winter here, so I plan on enjoying summer while I can!).

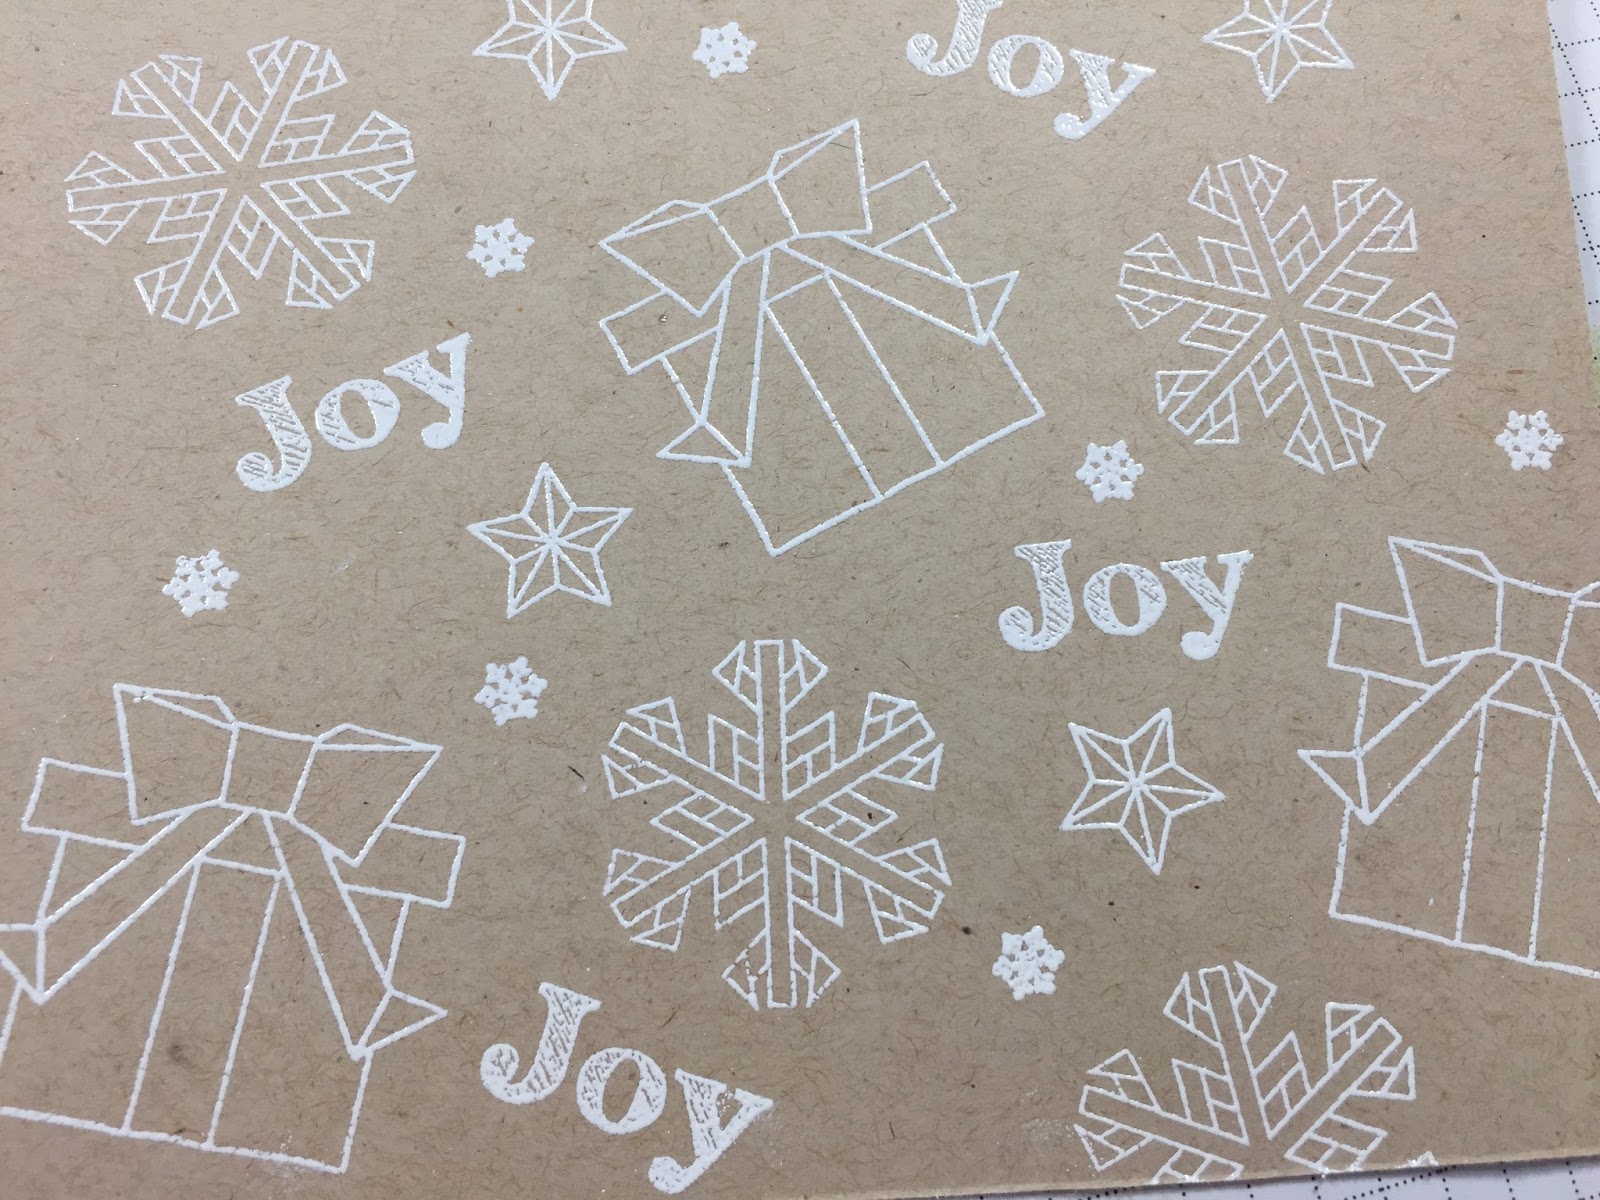
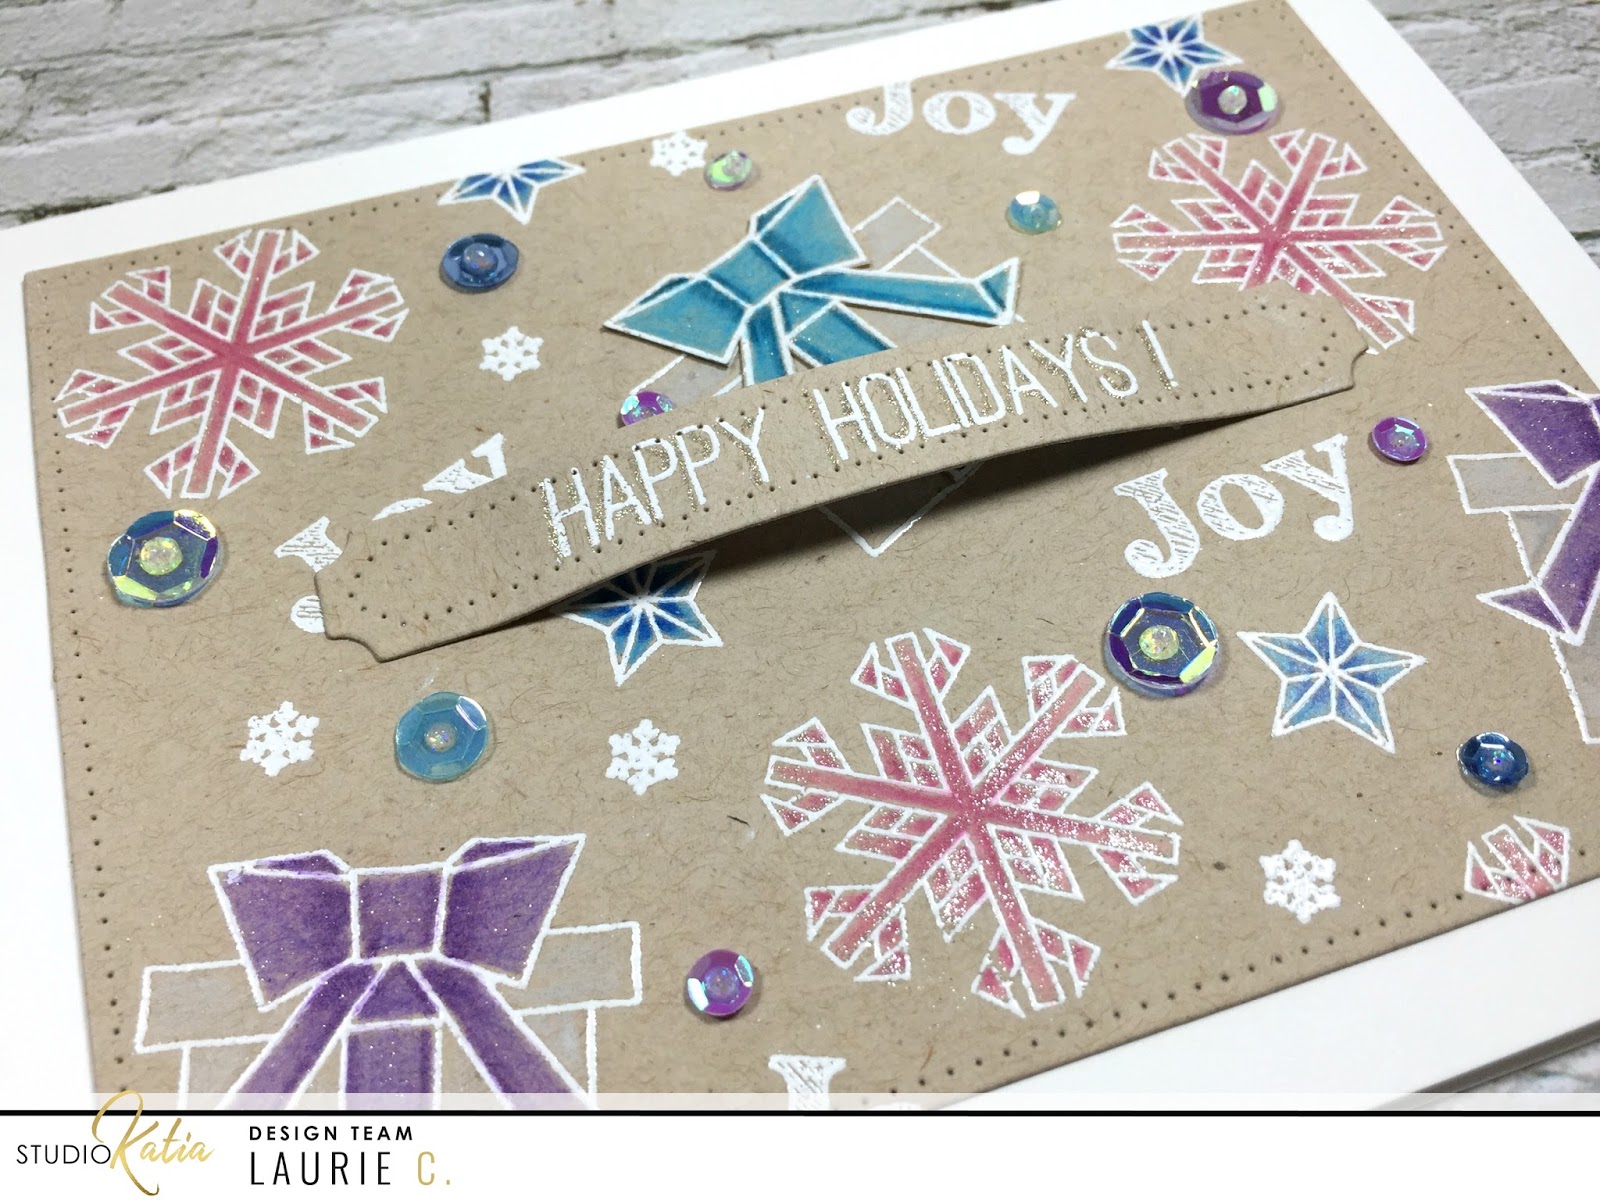
To bring some summer into my winter card,  I used non-traditional Christmas colours.  I started by stamping a few of the images from the Origami Winter stamp set using Versamark Ink and then embossed them using Ranger Fine Detail white embossing powder.  I decided I wanted to colour on kraft with pencils crayons.  Seems like ages ago that I used my pencils!!


I chose two shades of each colour:  pink, turquoise, purple and blue.

I use the Lyra Rembrandt PolyColor pencils and love them!

After I had all the images coloured, I decided that the one bow was way too dark in comparison to my other colours.


To remedy this little problem, I restamped the present and heat embossed like before, chose a couple of lighter colours then fussy cut around the bow portion only.  I used a bit of TomBow liquid glue to adhere it right over the dark bow.


I cut down the kraft panel using the rectangle die from the Dotted Patterns Set 1 and adhered directly onto an A2 white card base.


The sentiment also come from the Origami Winter set.  I white heat embossed it onto the sentiment strip from the Darling Ribbon and Dotted Frames creative dies set.  To give it a bit of dimension, I added two layers of foam adhesive to the middle of the strip and used liquid glue to adhere the ends.


With a few touches of Clear Wink of Stella, the card was almost done...


I went through my stash of SK sequins and picked out a few that matched my colour scheme.  I used the 8mm sequins from the Crystal Clear Fusion,  a few 4mm Luminous Lavender and picked out a couple light blue sequins from the Winter Wonderland Fusion.


I hope you enjoyed today's "Christmas in July" card!  Thanks for stopping by and see you soon!!

Laurie


Monday, July 3, 2017

You're So Lovely

HELLO!!! I hope everyone enjoyed their Canada Day long weekend!  And to my American friends, I hope you have a fabulous Independence Day!!!

I'm sharing a card that literally took me about 20 minutes to make.  I don't normally rush through a project like that but I was super lazy and left it to the last minute. THEN, my sister called and wanted to go to the beach and how was I supposed to say no to that!!?  Thankfully, Katia is super cool and patient with me :)

I started by heat embossing some of the floral and leaf images from the beautiful Together We Bloom stamp set.  And did you know that the CO-ORDINATING DIES were just released!!!  Almost all of the stamp sets have matching dies..how awesome is that??!

I used Silver Pearl embossing powder from Ranger.  It's my new favourite.  It gives such a soft and shimmery look.  White is nice but sometimes can be a little too stark.


I watercolored everything with my Zig Clean Colour Real Brush markers.  I haven't used them in quite some time and now I'm wondering why!  They are so amazing!  


I usually cut my panels down with some sort of frame die, but today I decided to leave it full size so I didn't cut off any of the loveliness.  And as always, I did not think about the sentiment until the very end so to keep it small and simple, I stamped one of the sentiment from the You're So Ranunculus stamp set onto a strip of watercolour paper and snipped the "v" shape on either end.  I foam mounted it in the centre of the card (it helped to break up the leaf overload in the centre).

To finish, I adhered some of the gorgeous Crystal Clear Sequins.


That's it for me today!!  Wishing you an amazing week!!  

Thanks for stopping by!!


Featured Post

A Simple Thanks Card

Well, well, well. Look who decided to show up...me! It's been an awful long time yet again. I seriously thought I'd be well out of t...