Showing posts with label lyra rembrandt poly colour. Show all posts

Wednesday, September 30, 2020

No Line Colouring with Create a Smile Stamps!

 Good morning and happy Wednesday! I'm back to share a card made using one of the newest stamp sets from Create a Smile Stamps! And I've also decided to do some no line colouring with my pencils!


This simple eucalyptus image is from the Breathe In, Breathe Out Stamp Set. This set has multiple images in different sizes. I used one of the smaller ones so as not to get overwhelmed while colouring.
I'm not an accomplished colourer. I don't really go for realism and my technique is my own. I do it purely for the fun of it. I just want good results that I'm happy with. This is the stress-free way!!


After colouring, I used the second largest die from the Stitched Circle Frames. This cuts the inner portion as well as the detailed frame. The coloured panel measures 3.75X3.75 inches. I adhered it to a 4X4 square card base. I glued the frame down, added a piece of fun foam (cut using the same die), then adhered the coloured portion on top!


The sentiment comes from the Small Sentiments Set. I resisted the urge to add any further embellishments, leaving it clean and simple.

Thanks for dropping by today! See you soon!

Laurie


Wednesday, May 29, 2019

Create A Smile Stamps Sketch Challenge

Welcome to another challenge for Create A Smile Stamps!  The challenge for the next two weeks is a sketch:


I'm becoming quite the fan of sketch challenges. It really gets the creative juices flowing!  I pretty much followed the sketch to a tee but you can easily change things up. Flip the sketch or use a different shape. Find your inspiration and see where it goes!


I used the largest flower from the Botanical Love Stamp Set for the focal point. I used Versamark Ink to stamp the bloom all over the centre panel which is 5.5 X 3.75 inches.  I cut the Magical Frame Die out of white cardstock and using Versafine Black Onyx Ink, I stamped the flower onto the centre part of the die.

I dusted off my pencil crayons (what we call coloured pencils, ha) and coloured up the flower.


I added the outer frame of the die onto the grey panel first (which I cut out of craft foam, as well) and place the coloured piece to the inside.  I stamped the "smile" in the Onyx Black ink as well and fussy cut around it.  I adhered exactly as the sketch suggests.


I adhered the focal panel onto a white card base, added a few white gems from Studio Katia and a bit of glitter pen to the flowers. And we can call this card, done!!

Please join us in this challenge HERE!  We love seeing what you create! You also have the chance to win a €25 gift certificate to the Create A Smile Stamps Store!!

Thank you for dropping by, see you soon!!

Laurie


Monday, January 8, 2018

Made in Minutes with My Creative Time

Good morning, friends!!  Today, I'm sharing a not one, but TWO cards!!  This post shows just how easy it is to create multiple cards, quickly! Or one card, even quicker :)

I started by coming up with a simple layout that could be stamped at once. The Misti comes in super handy for this!


The floral image is from the sweet stamp and die set,  Hey There Little Lady.  The sentiment is from the Create Stamp and Die Set.  If you are new to My Creative Time products, almost every stamp set comes with co-ordinating dies!!!!

I stamped one panel with Memento Tuxedo Black Ink and the other with Versafine Black Onyx ink.


I used Copic markers and coloured pencils for some super simple colouring!!  These are meant to be quick, right??  When it came to putting the cards together, I did assembly line style.  I stamped both, I coloured both, I trimmed both and adhered everything at the same time.


To add a little more interest, I trimmed down the right side about 1/2 inch.  This actually creates a bit of depth and dimension without actually adding foam adhesive!!  Next, now this part did take the longest, was the die cutting of the word die.  It didn't actually have to take this long but instead of using foam adhesive to mount the "create", I cut the die repeatedly out of white cardstock to add the dimension.


I got all my elements together and adhered everything at once!


These two cards took about half an hour!! Here's a look at the completed projects!!


Thank you so, so much for stopping by today! I appreciate your visits more than you know!

Have a great day!!

Laurie


Sunday, September 17, 2017

Starting with "P"!

Hi everyone!!  Last week I picked a new letter for my "Making Use of My Stamps" series.  The letter picked was P.  I knew I had a lot of Paper Smooches stamps and dies but as I was going through my stash, I realized that I also have a lot of Papertrey Ink!!  I don't keep my PTI stamps in with the general population so I totally forgot about them...bad me!!  In this portion of the series, you'll also see some Pretty Pink Posh, Poppy Stamps and Penny Black.

I posted this card on Instagram yesterday for the 30 Day Colour Challenge hosted by the beautiful Kathy Racoosin!  It features the Forest Whimsy Stamp Set from Paper Smooches.  I haven't used my pencil crayons in quite some time so that was my medium of choice.  I have the Lyra Rembrandt Polycolor pencils and I love them!!


I also used the Leaves 1 Dies and the Pinked Circle Dies on this card.

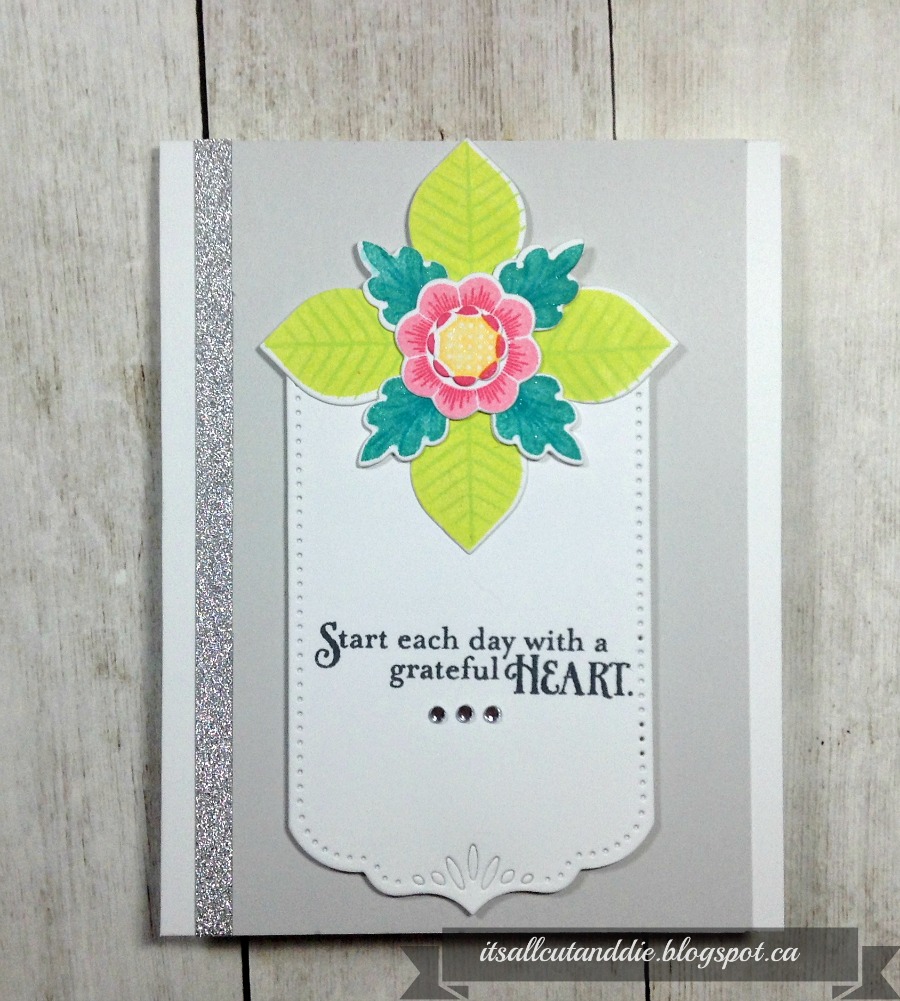
The next two cards feature PaperTrey Ink.  I love PTI products but have not ordered from there for a long time due to shipping costs :(  This first card uses the Lovely Layers Stamp Set and the Co-ordinating Dies.  These dies are solid, which I'm not really a fan of (only because my stamping is ALWAYS off!).  I used all Catherine Pooler Inks for the stamping, love these inks for so many reasons, but that's another post!


Because the colours are so vibrant, I left the card fairly neutral.  I also used the Basic Bookmark 3 Die.   As an afterthought, I added a strip of sparkly washi tape to one side, I felt like it needed some shine!


And my final card for today uses one of my all time faves from PTI,  the Be Happy Stamp Set. Unfortunately, I could not find this set on the PTI website.  The shop still carries the Dies, which can totally be used on their own!


Again, I used CP Inks for the stamping.  This card is so happy, love the way it turned out!


I think I'm really going to enjoy the letter P!!  From whimsical and cute to classy and elegant, this is going to be fun!!


Thanks for stopping by today, I really appreciate it!

Hugs!

Laurie


Tuesday, July 11, 2017

Christmas in July with Studio Katia!!


HO, HO, HO!!!  This week at Studio Katia we've been celebrating Christmas early!!  On one hand, it's nice to mix things up in the middle of the year by taking out your winter stamps and having a play.  On the other hand,  it's too soon to think about snow and winter (we get about 6-7 months of winter here, so I plan on enjoying summer while I can!).

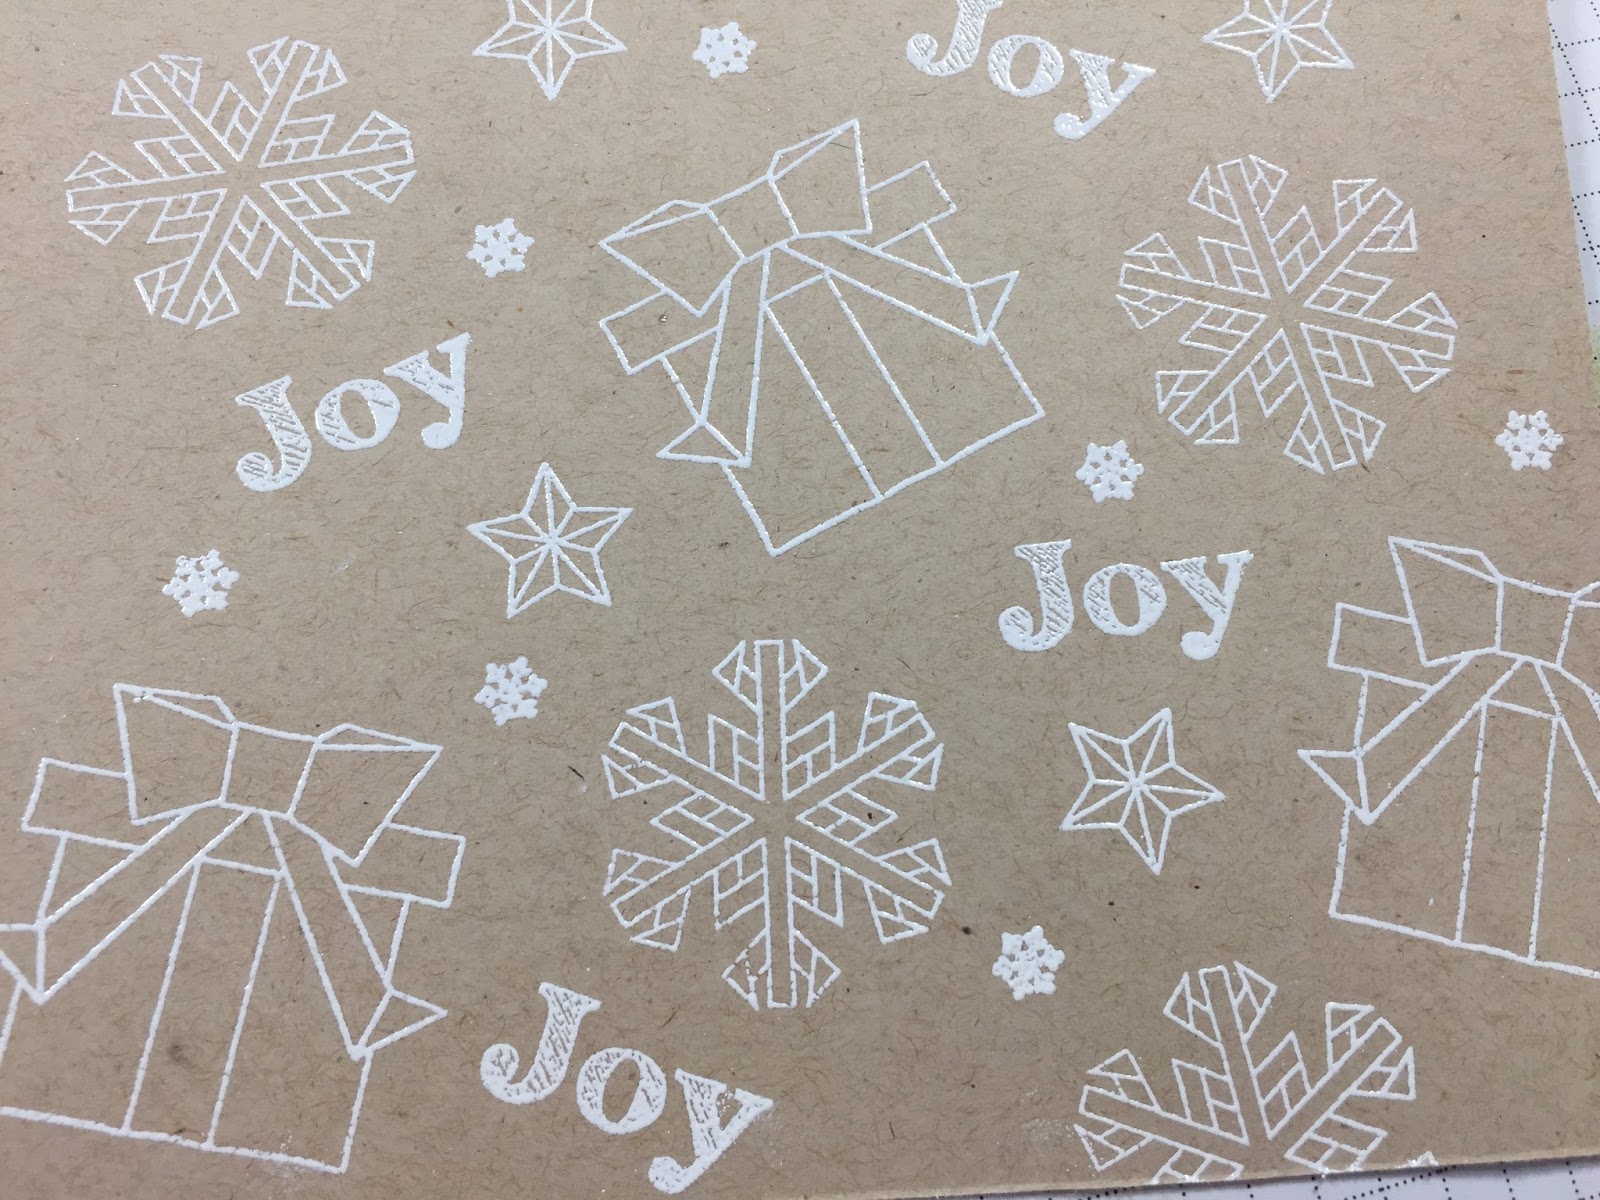
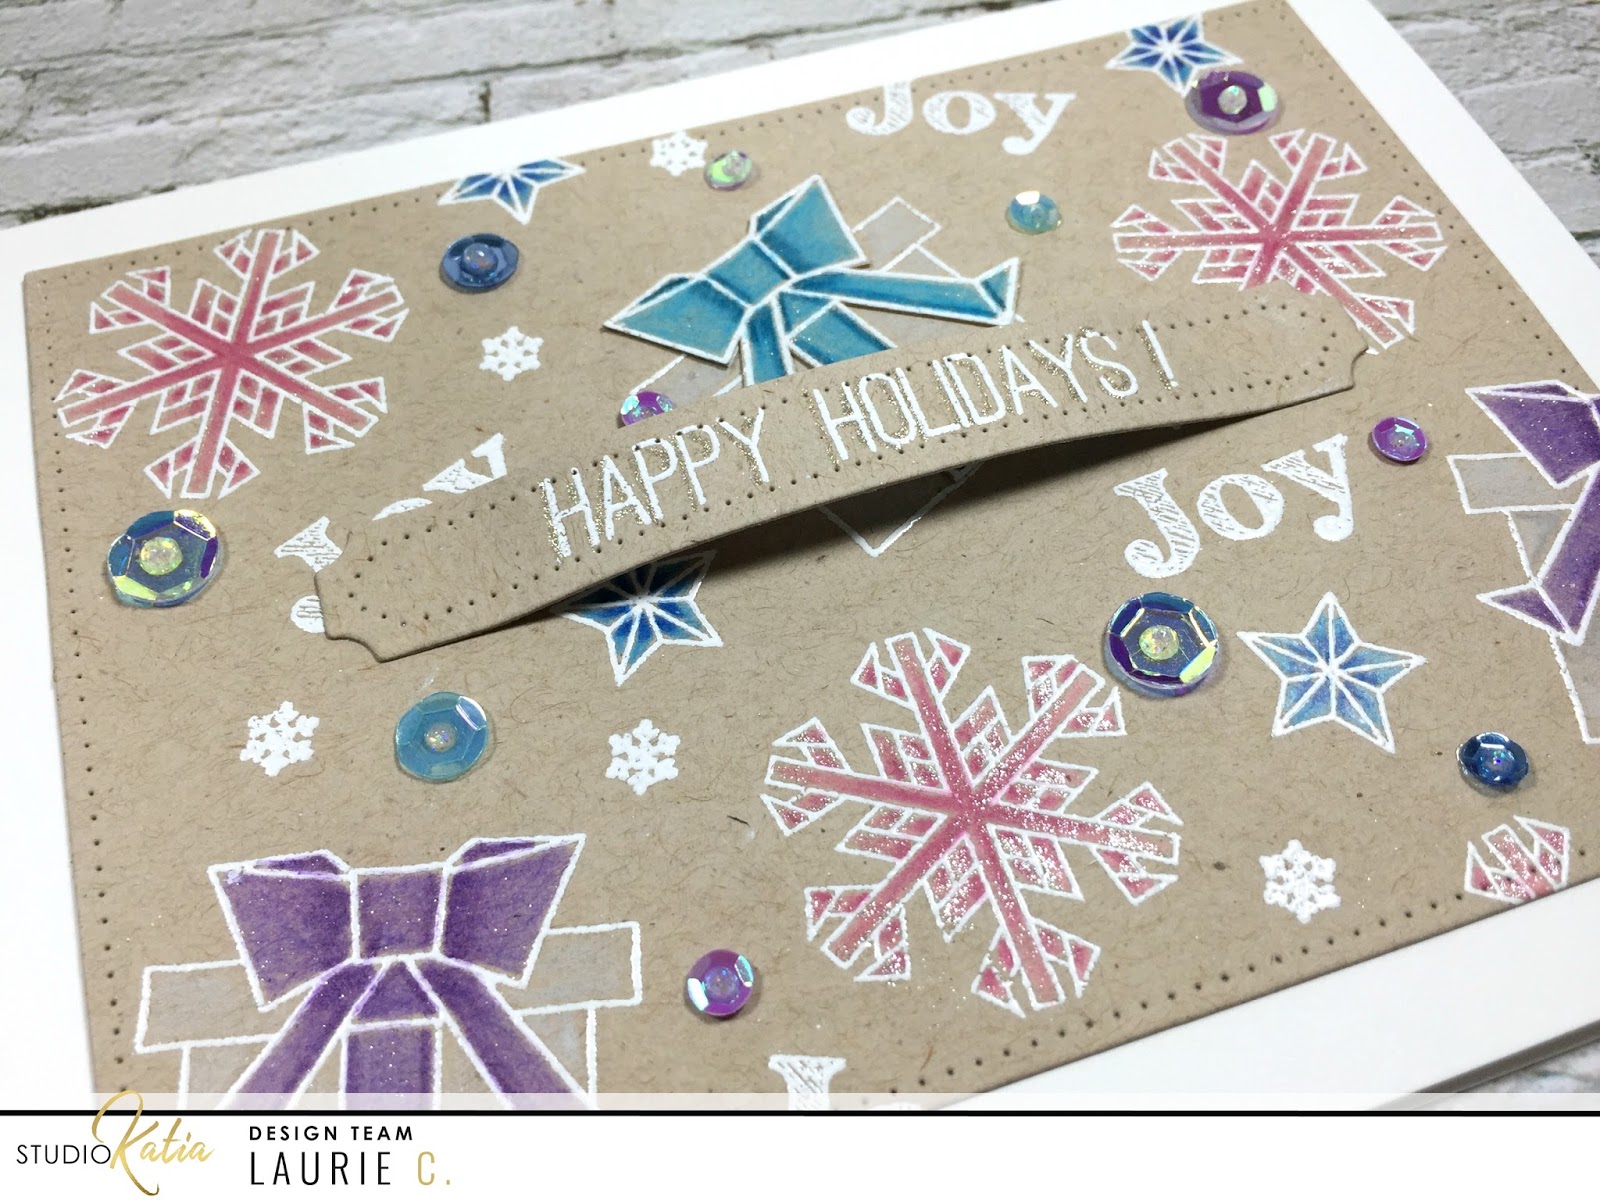
To bring some summer into my winter card,  I used non-traditional Christmas colours.  I started by stamping a few of the images from the Origami Winter stamp set using Versamark Ink and then embossed them using Ranger Fine Detail white embossing powder.  I decided I wanted to colour on kraft with pencils crayons.  Seems like ages ago that I used my pencils!!


I chose two shades of each colour:  pink, turquoise, purple and blue.

I use the Lyra Rembrandt PolyColor pencils and love them!

After I had all the images coloured, I decided that the one bow was way too dark in comparison to my other colours.


To remedy this little problem, I restamped the present and heat embossed like before, chose a couple of lighter colours then fussy cut around the bow portion only.  I used a bit of TomBow liquid glue to adhere it right over the dark bow.


I cut down the kraft panel using the rectangle die from the Dotted Patterns Set 1 and adhered directly onto an A2 white card base.


The sentiment also come from the Origami Winter set.  I white heat embossed it onto the sentiment strip from the Darling Ribbon and Dotted Frames creative dies set.  To give it a bit of dimension, I added two layers of foam adhesive to the middle of the strip and used liquid glue to adhere the ends.


With a few touches of Clear Wink of Stella, the card was almost done...


I went through my stash of SK sequins and picked out a few that matched my colour scheme.  I used the 8mm sequins from the Crystal Clear Fusion,  a few 4mm Luminous Lavender and picked out a couple light blue sequins from the Winter Wonderland Fusion.


I hope you enjoyed today's "Christmas in July" card!  Thanks for stopping by and see you soon!!

Laurie


Monday, May 1, 2017

Shaped Card and Coloured Pencils

Happy Monday, all!!! I'm back on the Studio Katia Blog to share my creation for this week!  Today it's all about a shaped card and coloured pencils, or pencils crayons, as we call them up here in Canada :)

My stamp set of choice is the  Hello Alice set. And for the dies, I used the Stitched Nested Creative Rectangles.


Please swing by the SK Blog for all the details!  

See you really soon!!

Laurie


Featured Post

A Simple Thanks Card

Well, well, well. Look who decided to show up...me! It's been an awful long time yet again. I seriously thought I'd be well out of t...