Showing posts with label no line colouring. Show all posts

Wednesday, September 30, 2020

No Line Colouring with Create a Smile Stamps!

 Good morning and happy Wednesday! I'm back to share a card made using one of the newest stamp sets from Create a Smile Stamps! And I've also decided to do some no line colouring with my pencils!


This simple eucalyptus image is from the Breathe In, Breathe Out Stamp Set. This set has multiple images in different sizes. I used one of the smaller ones so as not to get overwhelmed while colouring.
I'm not an accomplished colourer. I don't really go for realism and my technique is my own. I do it purely for the fun of it. I just want good results that I'm happy with. This is the stress-free way!!


After colouring, I used the second largest die from the Stitched Circle Frames. This cuts the inner portion as well as the detailed frame. The coloured panel measures 3.75X3.75 inches. I adhered it to a 4X4 square card base. I glued the frame down, added a piece of fun foam (cut using the same die), then adhered the coloured portion on top!


The sentiment comes from the Small Sentiments Set. I resisted the urge to add any further embellishments, leaving it clean and simple.

Thanks for dropping by today! See you soon!

Laurie


Wednesday, June 3, 2020

Miss You Mandala Card with Create A Smile Stamps!

Hello and happy Wednesday! I'm back to share a card made with stamps and dies from Create a Smile Stamps.

This card is not mass producible but was a lot of fun to make!  I started by doing some no-line colouring with my Lyra Coloured Pencils. I used the Mesmerizing Mandalas Stamp Set along with the No Line ink pad from The Stamp Market.


I used a few pinks shades, a purple and a turquoise to colour this image. It's actually not as tedious as it may look and didn't take that long.  When the colouring was done, I fussy cut around the mandala then trimmed in half.

I cut a panel of white cardstock with the second largest of the Scalloped Rectangles then used the same die to cut the bottom of each half of the mandala. This added the scalloped edge so it would fit nicely on the panel!


The sentiment comes from the new Miss You Mini Stamp Set and was stamped in a grey ink. I used foam tape to adhere the mandala pieces to the top and bottom of the scalloped panel.

The card base measures 3.5 X 5.25 inches. I lightly inked around the edges using Spun Sugar Distress Ink to take away some of the brightness. I used tape adhesive to adhere the panel to the card base.


I played around with some embellishments but couldn't really come up with good placement so I used my white gel pen to add some details instead!

Thanks for dropping in! See you soon!

Laurie


Monday, June 4, 2018

Maple Syrup Monday featuring Catherine Pooler Designs!

Hello and happy Monday!! Well, okay, are Mondays ever happy?? I have a card that will maybe cure the Monday blues...maybe.

For this month's collaboration with Colleen from Maple Syrup Designs, we decided to feature products from Catherine Pooler!! Colleen carries A LOT of this line including the all the incredible inks!!

I thought I would tie this post in with the 30 Day Colouring Challenge hosted by Kathy Racoosin! If you've never heard of this challenge, please read about it HERE. If you follow me on Instagram, you may have seen this photo:


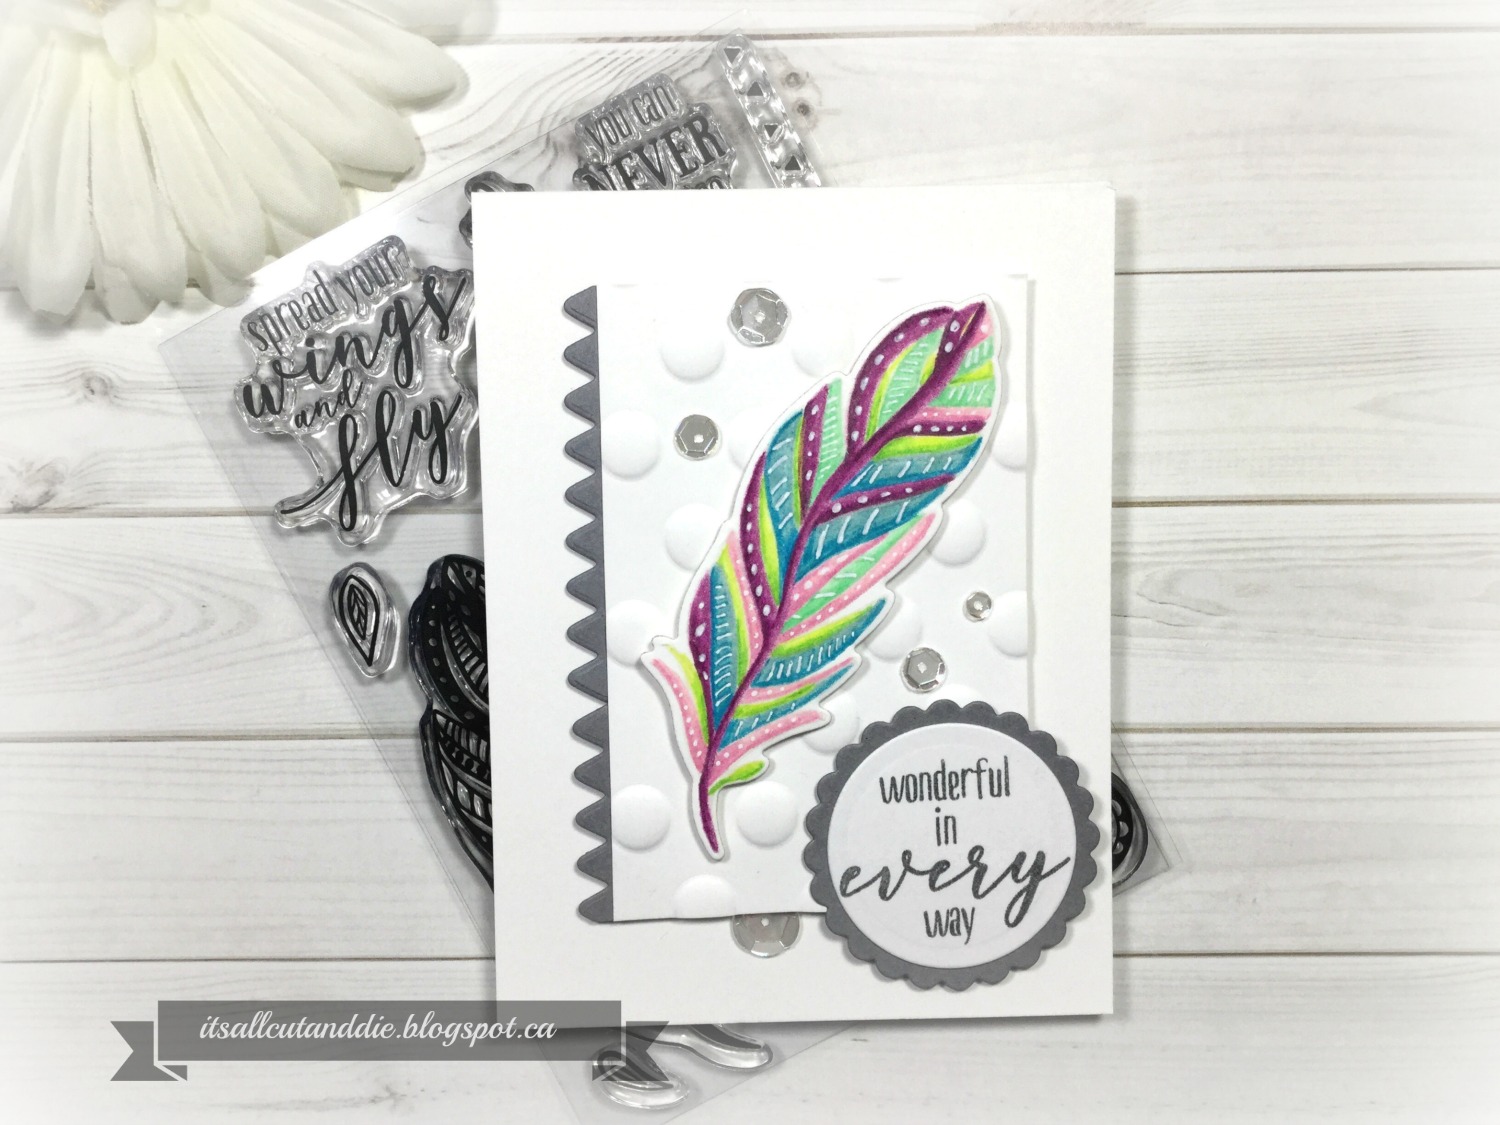
I decided to practice a bit of no-line colouring using this gorgeous feather from the Zen Feather Stamp Set and coloured pencils, or pencil crayons as we like to call them here in Canada:)  No-line colouring is not easy for me and this stamp is quite detailed so to make it easier, I ignored all the details while colouring and just used a white gel pen to add them back later!!

I also coloured the flower and tiny leaf image but did not like the way it turned out.  I admit that I rushed through it...I didn't end up using this on the final project.


I wanted to show you something that was kind of cool. Sometimes I will spray my images with a mixture of Perfect Pearls (in the Perfect Pearls shade) and water to give a real pretty sparkle.  I've never done it with pencils before. Since I knew I wasn't going to use this flower, I experimented with it.


Because I used wax based pencils, the water beaded up on the surface and I had to use my heat tool to dry it.  But it gave a very cool texture as well as shine!  I didn't do that to my feather but definitely want to explore that further!

I kept the card simple as I wanted the focus to be on the coloured feather.  


I used the Zen Feather Co-ordinating Dies to cut out the feather and also the zig zag border on the side of the embossed panel.  I totally went "old school" with the sentiment! I used Lawn Fawn Circle Dies and Scalloped Circle dies for that!!


A few clear sequins were enough to give a little sparkle to this card!!


I hope you like this clean and simple Feather Card today!!  And let me know if you are participating in the 30 Day Colouring Challenge!!

Remember to check out Colleen's blog for more Catherine Pooler goodness!!

Thank you so much for stopping by!!!!

Until next time...stay crafty!

Laurie


Featured Post

A Simple Thanks Card

Well, well, well. Look who decided to show up...me! It's been an awful long time yet again. I seriously thought I'd be well out of t...