
I wracked my brain trying to come up with good idea. Should I make a treat holder? A gift box? And then it came to me...how about a little DIY home decor?!! Besides a few card panel scattered about my craft room, I don't really have any handmade decoration. So this is what I set out to create.
I went through my MCT stash and picked out a WHOLE BUNCH of dies!! This project has absolutely no stamping. Sad, I know, but sometimes you just gotta die cut:)
I started by die cutting 6 (second from the largest) Chunky Stitched Tag Dies along with the smaller stitched version that layers nicely on it. I die cut some leaves from the Stitched Leaves Dies and some flowers and leaves from the Stitched Pretty Flower and Leaves Dies.

I chose a pretty palette of Distress Oxide Inks,

and did some simple ink blending on my die cuts.

I guess I never made it clear what I'm making!! I decided to make a little banner that says "create". I decided instead of adhering the die cut letters directly to the top layer of the tag, I would die cut them from that layer.

So for contrast, I used Broken China Distress Oxide and inked the base layer tag. Here's a look:

I foam mounted the die cut tags with foam adhesive onto the bases. I took the flowers and leaves and tried to randomly place them on each tag. I wanted them to have more of a "scattered" look.
I struggled with how to place the twin to each tag. The way I had placed the upper layer, didn't leave a lot of room to punch holes and at this point, I didn't really want to risk ruining one the tags. It's funny that I say this because my final plan almost ended in disaster!!! Read on...
I decided to die cut 6 more of the larger tags and adhere them to the back using Scor-Tape. On the top strip of tape, I will adhere the twine, just like so:

Now this is where my near disaster occurred. Check out what I did!!
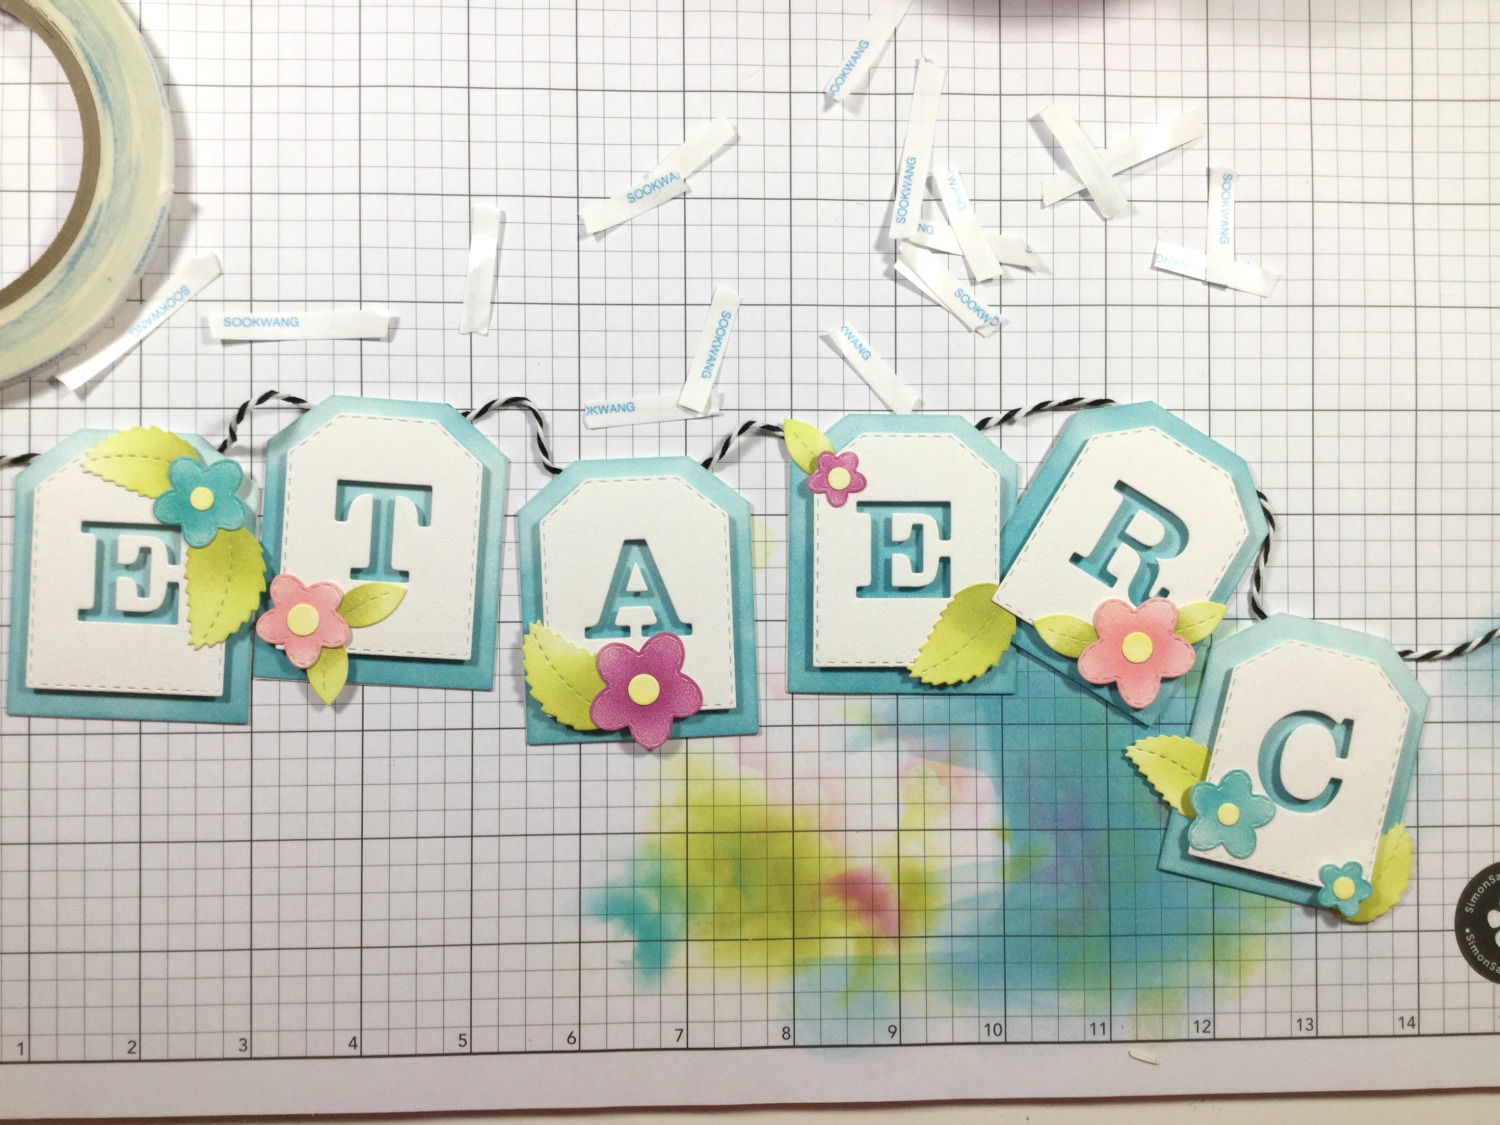
That's right!! I adhered them backwards! I could not believe it. I sat there is stunned silence for a couple of minutes thinking I would have to start over. Luckily, I was able to carefully open each tag at the top.

I rearranged my word, added a bit more tape to the top of each tag and slid the twine back in..phew!!
In the end, I'm really quite happy with the way it turned out. I have it hanging over my desk right now!!

Here's a closer look:

I hope you enjoyed todays project and found just a little inspiration!!

Thank you so much for stopping by today!!
Until next time, stay crafty!
Laurie


