Monday, July 31, 2017

Saturday, July 29, 2017

Continuing with the letter "M"!

Hello all and welcome back!  Today i'm sharing my recent cards made using stamps and dies from My Favourite Things, Mama Elephant and My Creative Time!  I'm really enjoying rediscovering all that I have!!  I'm getting excited to draw the next letter but I have so much more to discover in this letter category :)

My first card features Mama Elephant.  I used the Blogging Buddies stamp set and Co-ordinating Dies for my images and sentiment.  I have never used this set and I really wonder why.  It's adorable!


I coloured the computer pink (because who wouldn't love a pink computer!) using my Copic markers.  For the background, I die cut the images from white cardstock using the Index Card Creative Cuts die set.  The two panels are also included in this set...again, I think I may have used this set once, and not all of it!!


A little bit of sparkle pen, Glossy Accents and Dandelion Yellow Crystal Drops finish this card.

My next card uses products from My Creative Time and My Favourite Things.  I had a panel already created using the Cloud Stencil and Wonky Stitched Rectangles. So I thought it would pair perfectly with the Thanks for the Lift Stamp and Die Set.


I used my Zig Clean Colour Real Brush markers for the colouring. Again, added sparkle and Glossy Accents as well as a few Sparkling Clear Sequins.


And lastly, the card with all My Favourite Things products!  I really like this one.  It's definitely clean and simple compared to the last two!  I used the Wonky Stitched Rectangles for the centre panel and left it white. I stamped, coloured and die cut a couple of flowers from the Springtime Blooms and its Co-ordinating Dies.


The sentiment is from the same stamp set.  I used the Sentiment strips One dies (which, by the looks of it, are no longer available). I believe that die set was one of my very first!!


I foam mounted everything onto the white panel and adhered that directly onto a grey card base.  I kept it simple and added 3 black pearls.  I think this may be my favourite of the three!!  Let me know which one is your favourite!!

Thank you so much for stopping by and I hope this series is inspiring you to go through your stash and make what's old, new again!!


Laurie


Monday, July 24, 2017

Die Cutting and Colouring Birthday Card!

Hello everyone and welcome back! I'm here to share a super fun birthday card for Studio Katia!  One of my favourite things to do is die cut!! There is something so satisfying when you remove that piece of cardstock from the die.  Another one of my favourite things is colouring.  I recently invested in some Copic markers and am loving them!! So, let's check out my project!!

I started by cutting the rectangle die from the Dotted Patterns Set 1 out of some white cardstock.  I knew I wanted some sort of banner on this card so I took the small scalloped edged die and ran this through also with white cardstock.


This particular die is very cool.  It can be used to create pretty slits in your projects to insert gift cards, etc.  In this case, I trimmed it to become a banner shape.  I layered this piece onto black cardstock and trimmed around it to give some contrast...you will see this in the finished card :)

Next, I stamped the presents and party hats from the super cute Kobi the Birthday Bear stamp set and chose some Copic markers.

The presents to the right was a total human error! Please ignore.

I love the shapes and designs on these images! Whimsical and so much fun to colour!  I die cut everything out with the Co-ordinating Dies.


Before I put my card together, I decided the white panel was a little too stark, so I squished some Black Soot Distress Ink onto an acrylic block, added water and using a brush, created some splatters.


I started by adhering my banner directly onto the card panel.  For the sentiment, I white heat embossed "Happy Birthday" onto a strip of black cardstock (the sentiment is also from Kobi).  I snipped one end to make a fishtail banner.  I adhered this on top of the banner.


I placed some black and white ribbon around the top of the banner and sentiment and adhered the panel on to a white cardbase using fun foam.  I adhered the hats and presents in a fairly random order using a combination of tape runner and foam adhesive.


For a bit of added sparkle I used various sizes of sequins from the Crystal Clear Fusion...love these things!!

I hope you enjoyed todays project and got inspired to do some colouring and die-cutting!!  Thank you SO much for stopping by!!


Have a great week!!!

Laurie


Saturday, July 22, 2017

Making Use of My Stamp..starting with the letter "M"

Hello and welcome back!! On Friday, I decided it was time to pick a new letter for my Making Use of My Stamps series.  And the letter that was picked was the letter M!


This is exciting.  I have a ton of My Favourite Things stamp sets, a lot of My Creative Time stamps and dies and some Mama Elephant stamps.  From cutesy to elegant, I think I've got it covered!!

For my first card, I went with Mama Elephant.  I started by heat embossing some of the florals from the Freestyle Florals ( I linked to the bundle )in white onto some watercolour paper.  I used my Zig Clean Colour Real Brush markers to colour them. I used the coordinating dies to cut them out.


For the sentiment I used the Blessed stamp set. I also used white embossing powder for this on a navy cardstock panel.  I placed the panel onto a white cardbase and added some Nuvo Crystal Drops in Gloss White.


I even have extra flowers and leaves to play with!!

My next card features My Favourite Things.  I've had the Polynesian Paradise Stamp Set and Co-ordinating Dies.  I've had this set for a LONG time and have only coloured a couple images from it.  I did some amateur no-line watercolour for this.  I used the Barely Beige ink from Simon Says Stamp.   (Amy Rysavy has used this ink for no-line colouring and I had to give it a try!)


It turned out okay.  My shading skills need some improvement!  I also used the Blueprints 1 Set to die cut the scalloped panel and used Distress Ink to do some blending.  I adhered that panel to a Woodgrain Cardstock base.  I white heat embossed the sentiment.


And last but not least, a project using stamps and dies from My Creative Time.  I adore Emma's products!!  What is awesome is that almost all of her stamps and dies come as a set..I LOVE THAT!!!

I used the Be Awesome stamp and die set to create my focal point.  This die set creates what looks like a Post It Note along with other little accessories.  I did some ink blending on the "post it" with yellow ink and added a bit of "tape" to the top.  I stamped the sentiment in Versafine Black Onyx ink.


To dress up my card base a bit, I used the awesome Geo Borders set.  I stamped the triangle stamp with some Twirling Tutu ink onto a scrap piece of white cardstock and trimmed it down into strips which created a nice frame for my card panel.  To add a bit more something to my "post it", I die cut some flowers and leaves from the Stitched Pretty Flowers and Leaves die set.  I used the same yellow and pink ink and added some Willow ink for the leaves.  I foam mounted the panel using foam tape to give a bit of dimension.


I hope you enjoyed my first three "M" projects!  I truly had a blast making these.  

This letter in the series will take a bit longer than the H's as I have more to work with!!

Thank you so much for following along with me and maybe playing along!!

See you soon!!!

Laurie


Monday, July 17, 2017

#LOVE with Distress Oxide Inks

Hello, all!!  I'm back to share a bright and happy card!  I recently received the new set of Distress Oxide Inks and just had to have a play.  This card also had a couple of "happy accidents" which I'll point to you :)

I started by picking some rainbow colours of the Oxides.  I chose Picked Raspberry, Twisted Citron, Peacock Feathers, Spiced Marmalade, Wilted Violet and threw in a bit of Faded Jeans.

I used Bristol cardstock which worked beautifully.  I started stamping the outline heart shaped from the Sweetheart Candy stamp set.  I tried to create a random pattern using different colours.  Then, taking a damp paintbrush, I added water to the inside of the heart.  As soon as the water touches that ink, it starts to bleed...in a good way!  It feathers the ink towards the inside of the heart but yet maintains a crisp outline image, love it!!


Happy accident #1:  At some point while stamping, I turned the panel to start filling in the gaps.  This resulted in the hearts going in two different directions.  Totally not what I had in mind, but I went with it and in the end, really liked it. The small heart comes from the Foxes stamp set.  These two hearts are exactly the same shape.

I wanted to leave the insides of the hearts white but didn't want the end result to have so much white space.  So I smooshed some Broken China Oxide Ink onto a non porous surface, spritzed it with water and applied it CAREFULLY around all the hearts.  I'm not sure if it was the ink or the paper, but I ended up with a lot of hard edges and I LOVE hard edges to watercolour!


I used the rectangle die from the Dotted Patterns Set 1 die set.  I adhered that onto a piece of textured, white cardstock that was trimmed just slightly larger than the heart panel.  For my card base, I used a blue cardstock that went well with the Broken China Distress Oxide Ink.


The sentiment also come from the Sweetheart Candy stamp set.  I used a sentiment strip die and embossed the #love with Silver Embossing Powder.  I layered the sentiment onto the same blue cardstock to make it pop a bit more.  Before adhering the sentiment, I put a messy nest of silver thread behind.


And of course no card is complete without some Studio Katia sequins!!  I used a few of the flat sequins from the Majestic Fusion sequin mix and added a dot of Silver Stickles to the centres.

Happy Accident #2:  I meant to round the bottom two corners but grabbed the wrong punch, so ended up with these corners!!  But again, I think it looks okay!!


And that's my finished for today!  I hope you enjoyed!!  Thank you for stopping by!  Until next time..

Laurie


Sunday, July 16, 2017

Continuing with "H"! (Making Use of my Stamps Series)

Hi everyone and welcome back!  You may already know that I've started somewhat of a series on my blog to try and help me curb my spending and rediscover some of my older stamp sets!  Approximately once a month, I will pick a random letter.  I will then use stamp sets from the company that starts with that letter.  The first letter picked was "h".

I should note that sometimes it may not take an entire month to use all the products.  Sometimes it may take longer.  This is a total experiment so we'll see how it goes.  But I have to say, I'm REALLY enjoying this!!

I have 3 projects to share with you today.  The first two feature Hero Arts products.

This card uses the Color Layering Hibiscus Set which seems to be out of stock at both Simon Says Stamp and Butterfly Reflections Ink.  I used all Hero Arts ink for this as well.


The sentiment comes from the Anything Can Happen sentiment set.  I think this set may be discontinued as I couldn't find you a link!  Sorry!


I finished it off with some Hero Arts Black Pearls.

Next up, I used the Stamp Your Own Cactus set and the background stamp which again, must be discontinued!


I did some emboss resist ink blending on an ivory cardbase and love the results!  I used Copic markers to colour the cactus and fussy cut the images out.


I couldn't decide on a good place to put the sentiment so I simply stamped "howdy" on the inside of the card.

Last, is a card made using HoneyBee Stamps products.  I used the stamp set Build A Bee along with its Co-ordinating Dies.


This is one of my favourite sets from Honey Bee!  

I will likely draw a new letter next weekend as my Hero Arts products are limited.  And I've just finished a design team position with HBS so those stamps have seen lots of love recently :)

Thank you for joining me today!  Feel free to play along with me!  

Laurie


Tuesday, July 11, 2017

Christmas in July with Studio Katia!!


HO, HO, HO!!!  This week at Studio Katia we've been celebrating Christmas early!!  On one hand, it's nice to mix things up in the middle of the year by taking out your winter stamps and having a play.  On the other hand,  it's too soon to think about snow and winter (we get about 6-7 months of winter here, so I plan on enjoying summer while I can!).

To bring some summer into my winter card,  I used non-traditional Christmas colours.  I started by stamping a few of the images from the Origami Winter stamp set using Versamark Ink and then embossed them using Ranger Fine Detail white embossing powder.  I decided I wanted to colour on kraft with pencils crayons.  Seems like ages ago that I used my pencils!!


I chose two shades of each colour:  pink, turquoise, purple and blue.

I use the Lyra Rembrandt PolyColor pencils and love them!

After I had all the images coloured, I decided that the one bow was way too dark in comparison to my other colours.


To remedy this little problem, I restamped the present and heat embossed like before, chose a couple of lighter colours then fussy cut around the bow portion only.  I used a bit of TomBow liquid glue to adhere it right over the dark bow.


I cut down the kraft panel using the rectangle die from the Dotted Patterns Set 1 and adhered directly onto an A2 white card base.


The sentiment also come from the Origami Winter set.  I white heat embossed it onto the sentiment strip from the Darling Ribbon and Dotted Frames creative dies set.  To give it a bit of dimension, I added two layers of foam adhesive to the middle of the strip and used liquid glue to adhere the ends.


With a few touches of Clear Wink of Stella, the card was almost done...


I went through my stash of SK sequins and picked out a few that matched my colour scheme.  I used the 8mm sequins from the Crystal Clear Fusion,  a few 4mm Luminous Lavender and picked out a couple light blue sequins from the Winter Wonderland Fusion.


I hope you enjoyed today's "Christmas in July" card!  Thanks for stopping by and see you soon!!

Laurie


Sunday, July 9, 2017

Making Use of My Stamps!!

Hello everyone!!  Today I'm starting something new.  I don't know about you, and I hope I'm not the only one guilty of this, but I have stamp sets that I've used only once or not at all!!
 I find myself buying and buying but never using.  I thought by starting a series on my blog, it would A.  Make me accountable and actually do what I set out to do and B.  Maybe, just maybe, I will hopefully spend a little less each month!

My plan involves this:  I have each letter of the alphabet in a little green pail.  Roughly once a month, I will pick a letter and use only the stamps and dies from the company starting with that letter.  For example:  If i picked the letter "y", I would use Your Next Stamp products.  I will post every Sunday until I've gone through every company!!

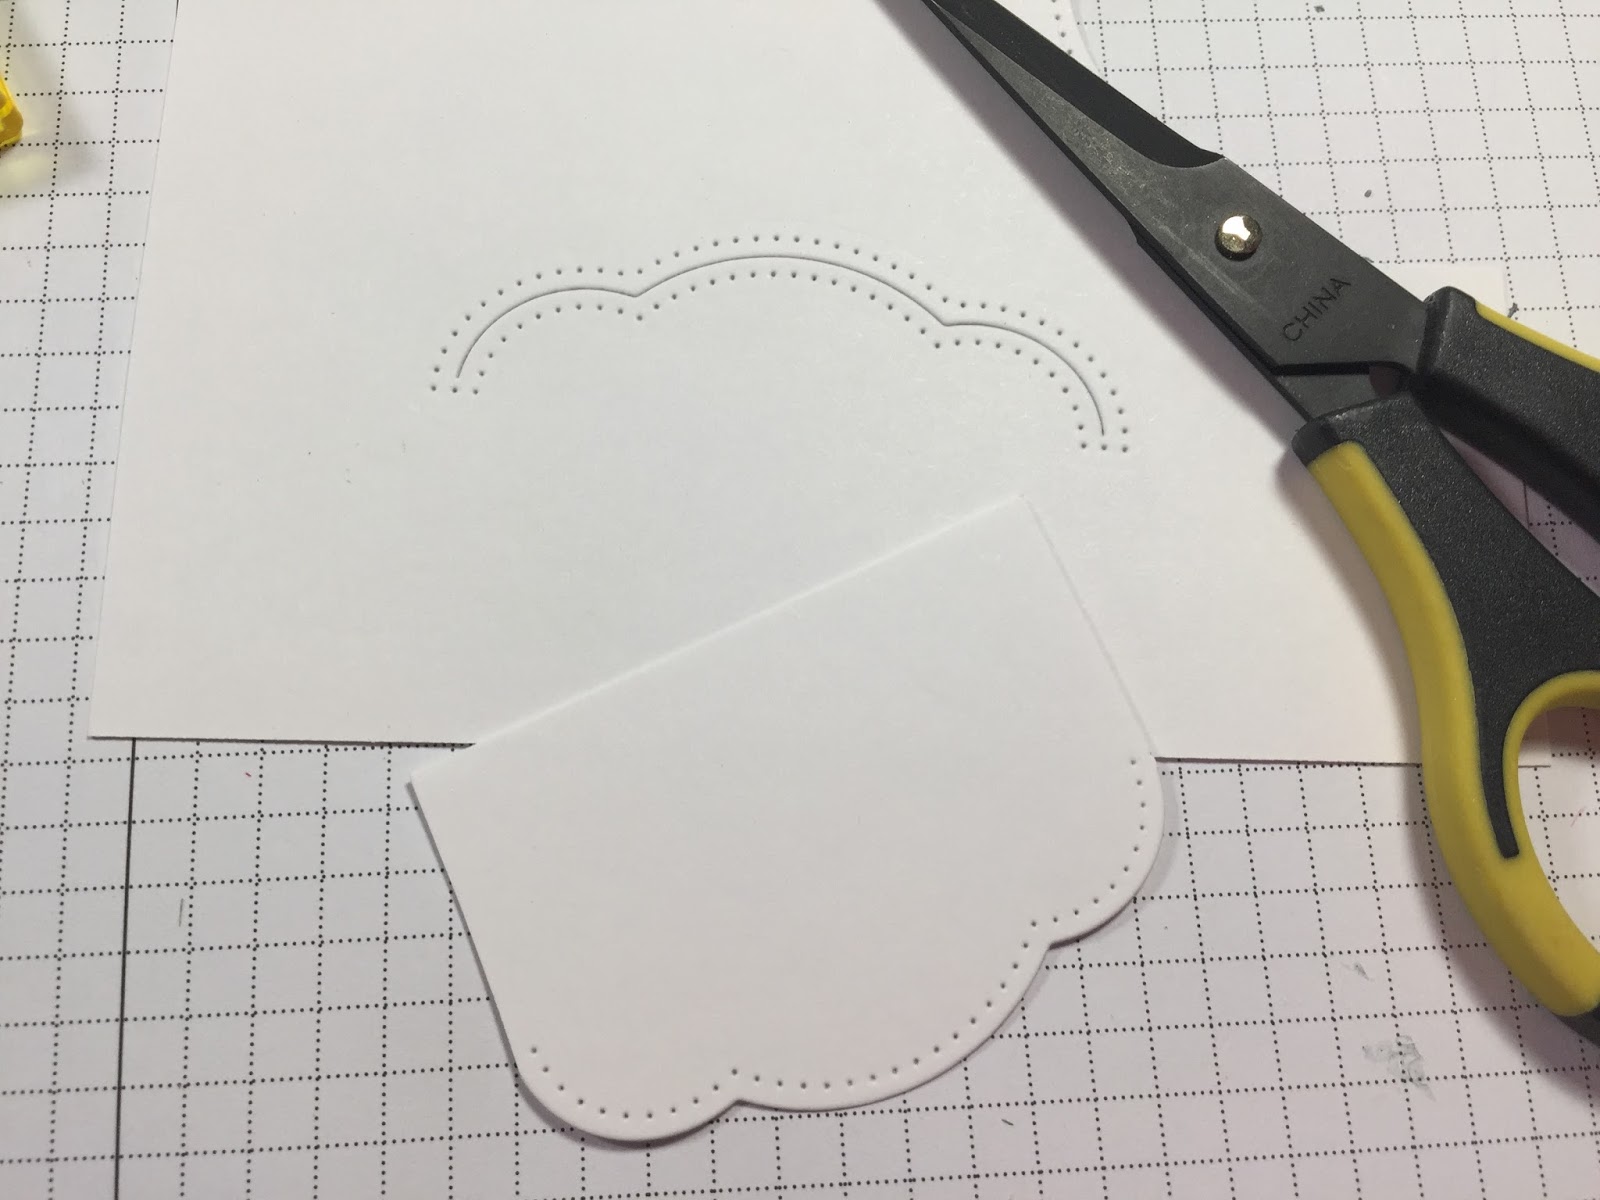
I stamped the entire alphabet using the Sophisticated Script set from Concord & 9th and snipped them apart.


I put this little video on Instagram last night to show the first letter.  Which was....


I have 2 "H" companies.  Hero Arts and HoneyBee Stamps.  I have a lot of HoneyBee products so I decided to start with Hero Arts, of which I'm lacking!!  For my first project, I decided to use the Luggage Tag Alphabet with co-ordinating dies and the Colour Layering Pineapple stamps and dies. 


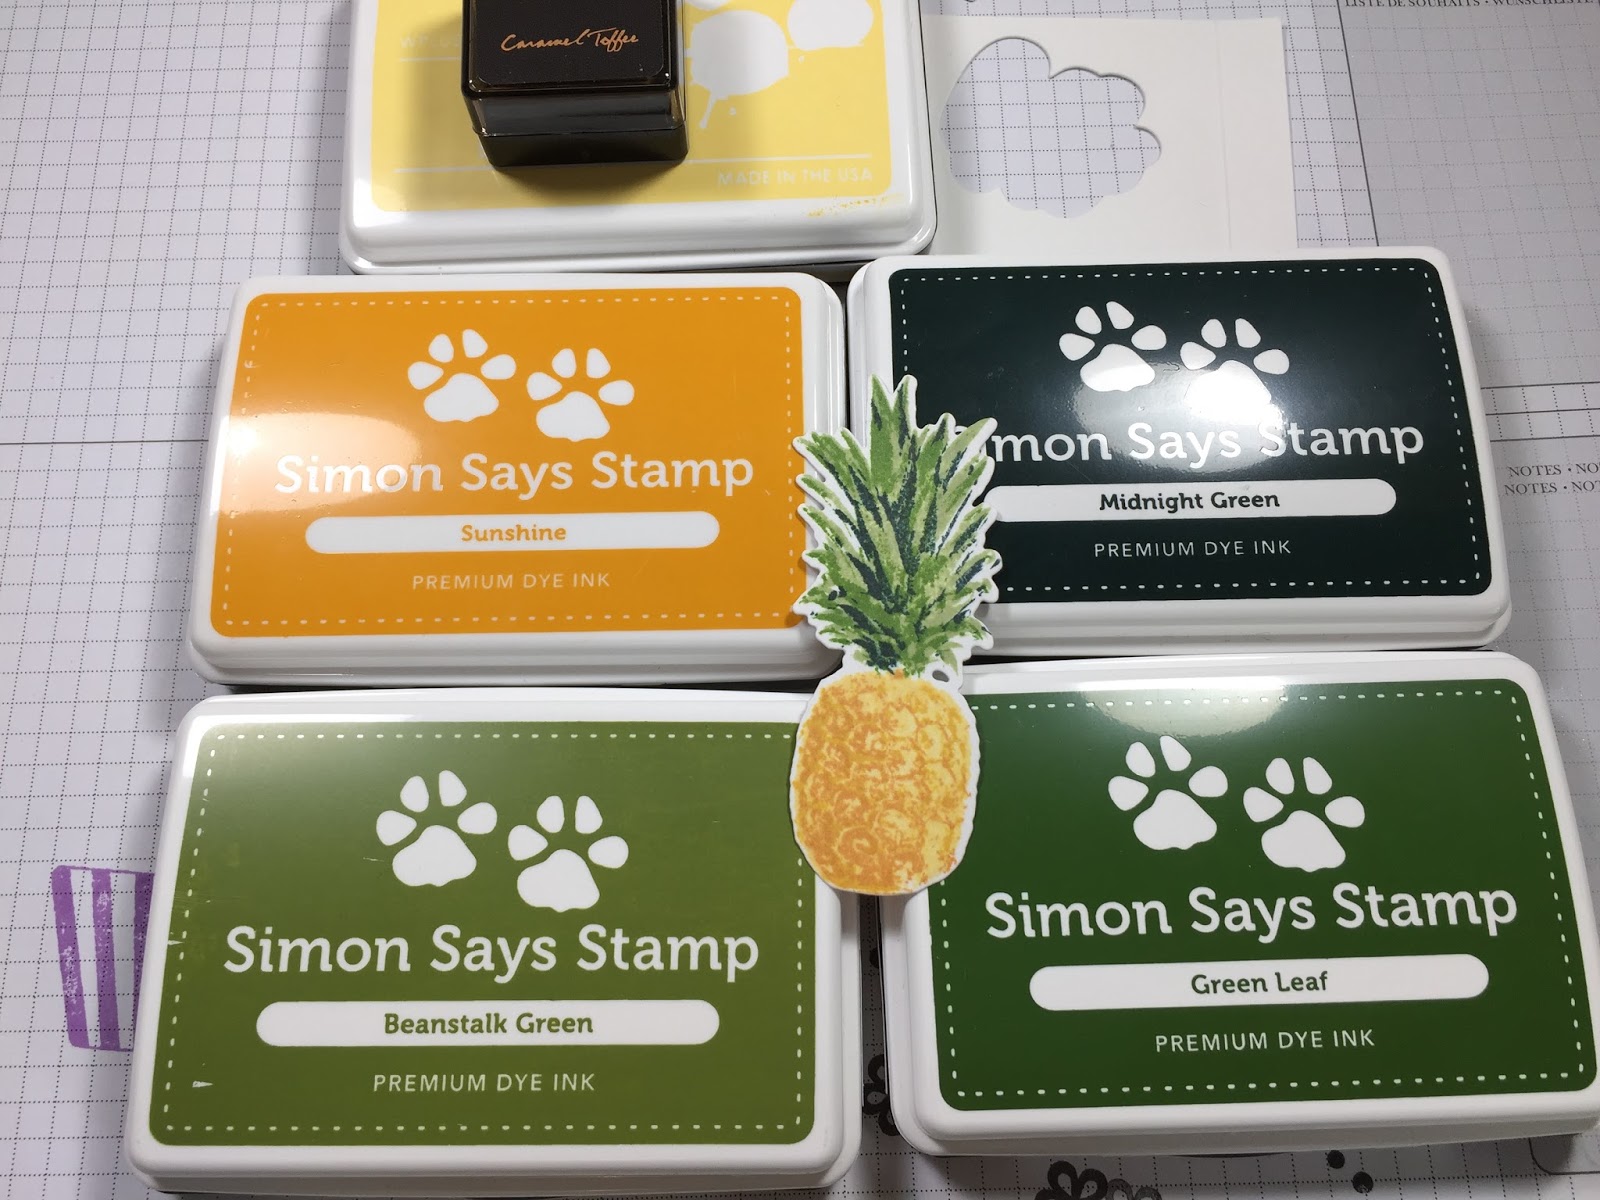
 This card changed directions quite a few times and took me awhile.  I started by stamping the pineapple with Hayride (WPlus9), Sunshine (SSS) and Caramel Toffee (Altenew) and the top in Beanstalk (SSS), Leaf Green (SSS) and Midnight Green (SSS).


This little flower that is also in the Pineapple set, I stamped with Hollyhock (SSS) and Miami Spice (Wplus9).


I die cut "aloha" using the alpha dies and blended them with Broken China and Tumbled Glass Distress Inks.

I wanted my pineapple to be the centre of attention so I smooshed some Embossing Ink all over it and coated it in Ultra High Clear Embossing Powder.  This was so cool!!


I was scared to touch them for the longest time because they look wet!!  Photos don't do this justice, it's incredible!!  

I ink blended some Scattered Straw Distress Ink directly onto the front of my card base and started to adhere my elements.  I foam mounted the pineapple (I used tons of adhesive to help hold it up!) at the centre of the card, then used liquid adhesive to mount the letters.


As you can see, the pineapple is now the "O".

With all the shine of the pineapple, I kept embellishments to a minimum and used three Enchanted Sea sequins from Studio Katia.


There it is. My first official project of this experiment!!  Because I don't own many Hero Arts products, the rest of the month will likely be a lot of Honeybee Stamps or a combination of both!! Who knows!?!  I will say that when it comes to letters like L, M, P, S and W, it may take longer than a month because there are multiple companies and I want to play with them all!!!

Thank you for stopping by today and I hope you'll follow along with me!  I'm sure to come across oldies but goodies!! Which is actually the whole point of this :)

On a side note, I will be linking everything to Butterfly Reflections Ink or Simon Says Stamp as these are the two places I order from the most!!

See you soon!!

Laurie


Featured Post

Patterned Paper and Coloured Cardstock

Hey friends and welcome! I wanted to share a fun shaped card with you using dies from Pretty Pink Posh and Scrapbook.com ! I've been a l...