Saturday, January 7, 2017

You Make Me Smile

Hello!!! I hope you are having a fabulous weekend!!  Let me begin by saying that one of my New Year's Resolutions is to pay more attention to my blog.  This poor thing is a tad bit neglected.  I seem to post only when I have to.  So from now on, I plan to make at least one extra post a week. A post that is not related to any design team projects or hops.  I know a lot of bloggers post daily, but I'm not quite there :).  These post will almost always happen on the weekends as I do not have the energy to create after a day at work!  I hope you enjoy these extras :)

For this weekends extra, I've used products from Right At Home and Studio Katia.  I am a part of the design team for Studio Katia, it's a wonderful little online shop based here in Canada and is owned and operated by one super lady!!  Please check out her shop, she has some amazing stamps, dies and sequins (oh my, the sequins!!!).  As for Right at Home, well, I am a super fan of Nicole's stamps and dies. They are like nothing else out there.  Super unique and funky!  So I thought these two small businesses owned by two amazing women deserved to be paired together.

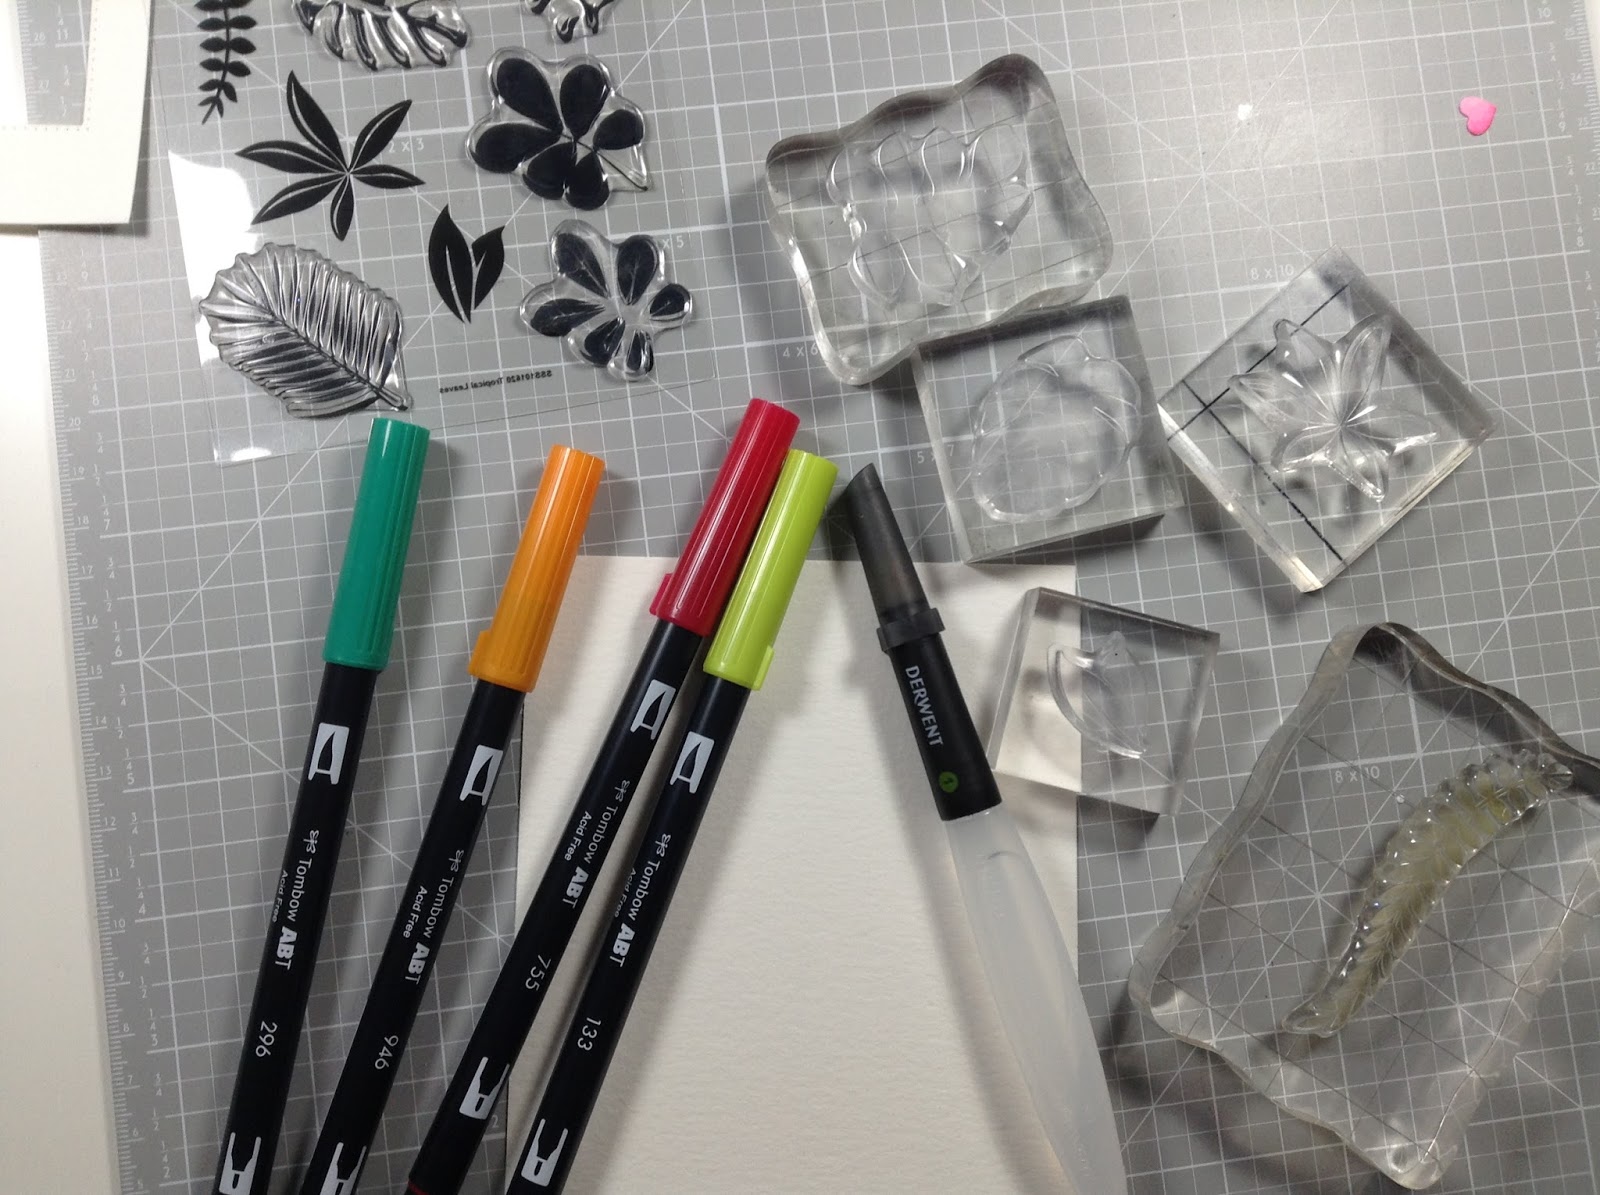
I used my new favourite background stamp, the Cloud Background Stamp from RAH.  I used my Tombow markers in three shades of grey and coloured them directly on the stamp.  Then gave it a light spritz of water.  I placed my watercolour paper directly on top and lightly pressed around.


It gave a super cool effect.  But I found that the lightest grey I used, showed up too light.  So I just added a bit more color to these clouds.  I also added touches of color to the other clouds as well because it enhanced the watercolour look.  I scribbled the grey markers onto an acrylic block, mixed with quite a bit of water and flicked some droplets over the background.  I, then,  used a stitched rectangle die from My Favorite Things to die cut the panel.

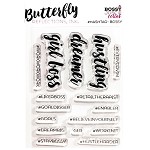
For the sentiment, I first die cut a piece of watercolour paper with the smallest of the Stitched Nested Creative Squares.  This die was the perfect fit for a sentiment from the Color In Sentiments set from RAH.


I used two shades of yellow and decided it needed a little darker color at the bottom, which I added with this Tombow marker.  These markers blend out beautifully.  I placed the sentiment panel onto my cloud background and decided it needed a bit more yellow.  I thought ribbon would be perfect but unfortunately the only yellow ribbon I have was WAY TOO yellow!!  So the next best thing?  Cut a thin piece of scrap watercolour paper and use the same three yellow markers to color it!!


I placed the yellow strip onto my cloud panel with TomBow Mono Multi glue and adhered the sentiment with foam tape.  I used the Mono Multi to adhere the cloud panel onto my grey cardbase.  I added some Clear Wink of Stella to all the clouds and the "smile". Next came a layer of Glossy Accents to the "smile"!
It's so hard to capture the sparkle, but trust me its there!!


And there it is!! My weekend "extra"!  I really hope you enjoyed and I really hope you are able to check out these shops!!

Thank you SO much for stopping by!!  And see you soon!

Laurie


Sunday, January 1, 2017

You're A Good Apple

Hello everyone and HAPPY NEW YEAR!!  I'm back to share a fun little encouragement card for Studio Katia!!

 I started by stamping the apple image from the Teachers Apple set onto a piece of masking paper.  For this I use the full sticky Post-It Notes from 3M.  They work awesome and they're cheap!!


I stamped three but really only needed two, actually one.  I stamped an apple in the centre of a white 4.25 X 5.5 panel.  After masking off that first image, I stamped apples beside it and then moving my mask each time, I continued until I had a row of apples.


I decided to use my alcohol markers to color these sweet apples.  I was originally going to go for a rainbow theme (which totally would have looked cute) but ended up using greens and reds.  After the apples were coloured, I used the new Darling Ribbon and Dotted Frames Creative Dies to add the dotted detail around the entire card panel and then to cut out the centre of the panel.  These are my new favourite dies!!  I absolutely love the dot detail you get on both the positive and the negative cuts!


I decided to use the banner die as well for my sentiment.  I adhered the panel directly to my cardbase then foam mounted the fancy frame back into its negative place.  I stamped "you're a good" directly onto the banner die using black ink then stamped the word "apple" with red ink onto a scrap of white cardstock.  I then fussy cut around the word so I was able to pop it up on the banner.


As you can see, I added some Clear Wink of Stella to the green apples and the sentiment.  I added some white detail with my gel pen and Glossy Accents to the leaves.  And look at those eyes!!! These are the Googly Eyes in the 5mm size. So cute!!  


And of course some Lipstick Red Fusion sequins!!


Thank you so much for stopping by!  See you again real soon!!

Laurie


Friday, December 23, 2016

Rainbow Hello

Welcome back!!  Today I'm sharing a card I made for Studio Katia!!  I know winter has officially just begun and its not quite Christmas but I'm ready to put my Winter/Christmas supplies away.  I'm ready for florals and bright colors!!  So I did just that!!


I picked out some fun, cheerful colors and used the skinniest brushstroke from the Brushstrokes stamp set.  I used my Misti for this as I knew I would be double stamping.  I did remove the stamp each time because I wanted and imperfect, random look.  I then used the largest die from the Darling Ribbon and Dotted Frames Die Set.  I love the dot detail these dies give.

After the stamping was done, I had a hard time deciding on the sentiment.  I first heat embossed in white the "hello" word from the Duo Talk set on a scrap piece of black cardstock.


I liked it but thought it needed just a bit more...so I die cut one of the speech bubbles from the Stitched Duo Speech Bubbles from white cardstock.


Now this I thought was just too stark and covered up too much of the happy background.  I ended up die cutting the same speech bubble directly from the panel...this always makes me nervous:)  I also die cut it from a piece of white fun foam to add dimension.


The dimension of the inlaid speech bubble adds interest to an otherwise simple card.  To finish it off, I added a generous layer of glitter pen over all the brushstrokes and added some Jet Black Sequins in various sizes (this is a fusion mix).


That's it for me today!!  Hope you enjoyed.  And I want to wish everyone a VERY MERRY CHRISTMAS!!!!

Laurie


Tuesday, December 20, 2016

BRI #Hashtag Stamp Blog Hop!!!!

Hi everyone and welcome to this super fun blog hop celebrating the release of two awesome stamp sets from Butterfly Reflections Ink!!  These stamp sets were made in collaboration with Bossy Jocsie and feature some humorous and straight to the point hashtags! The larger of the sets (4X6) is called #Hashtag. The smaller (3X4) set is called #Hashtag-Bossy.


If you're coming from the fabulous CASSIE, you're in the right place.  If not, that's ok!! The hop begins at the Butterfly Reflections Ink Blog.  You also want to stay tuned for details on how you can win one of these new sets!!

For my project, I decided to make a coffee-themed card.  If you follow Vanessa on social media, you will know that she has a love for coffee mugs (and leggings!)

I used the mug image from the mini stamp set, Warm Wishes from Waffle Flower.  I used the #Hashtags Stamp Set and picked out a few hashtags that could relate to being addicted to coffee and or coffee mugs :)  I also stamped the large "seriously" onto a scalloped piece of cardstock.

I popped up all the images onto an embossed card panel.  And of course, I had to add sparkle to those cups with my Crafters Companion Clear Sparkle Overlay. I added a few sparkly bits for that added bit of bling!


How would you like to win one of these sets??!  All you have to do is leave a little love at each stop of the hop!  Winners will be announced on the Butterfly Reflections Ink Blog on Tuesday, December 27th!!  Good luck:)

Thank you for visiting today!! The next stop is my beautiful Canadian friend, CORALYNN!!!


Monday, December 19, 2016

You Are My Favorite

Hello Everyone!!  I wanted to share a card I made using products from Simon Says Stamp.  I've been dying to use the Tropical Leaves stamp set.  This set has been on my wishlist for a long time so when Simon had a 30% off sale, I just HAD to order it!!

My new obsession lately is using my Tombow markers with solid image stamps.  The results are amazing!!  You actually feel like an artist!  I've tried this watercolor technique in the past using my Distress Ink mini ink cubes with not great results.  You always have to "stamp off" because the ink is so intense...and that's too much work :)


I simply swiped the edge of the brush tip across the stamp, sometimes adding a second color, then huffed on it lightly to moisten the ink.  The stamped image comes out quite light but once you add the water, it looks beautiful.


After the panel was done, I used the largest of the Stitched Rectangles to trim it down.  I didn't want to cover all the prettiness that I had achieved, so instead of stamping a sentiment I used the You Are My Favorite die.  I added the panel with foam adhesive onto a cardbase using Hero Art Layering Paper called Floral.


To finish off I scattered some Sparkling Clear Sequins from Pretty Pink Posh.

I really like how this turned out and I hope you do too!!  Thank you for taking the time to stop by!!

Laurie


Friday, December 16, 2016

Sweethearts

Happy Friday!!! I'm here to share another Studio Katia creation with you.  I know the Christmas season is upon us but boy, oh boy, am I Christmas carded out!!!  I am still making the occasional holiday card but I'm quite honestly ready for the next occasion.  That being, Valentines Day, of course!!

I used the Sweet Heart Candy stamp set for this card.  I was in the mood for some simple watercoloring so that is what I did.  I started by stamping the open heart image side by side in the middle of a piece of watercolour cardstock in Versamark Ink, then embossed it with white embossing powder.  After those initial hearts were placed, I randomly stamped the same image over the entire panel (also heat embossing in white).  I added some of the cute sayings that fit perfectly in the heart.

Now what is awesome about this stamp set is that the heart image fits perfectly with the heart die from the Stitched Notebook Die Set!!  So, of course I had to use that too!  I die cut two hearts out of the same watercolour cardstock, then heat embossed the tiny faces in silver embossing powder.


To add my colour, I used my Tombow markers.  I chose pastel colours similar to the actual candy.


Once all the colouring was done, I used the largest die from the new Darling Ribbon and Dotted Frame Dies to get that sweet pierced detail on my panel.  I adhered my two stitched hearts on top of the side by side hearts on the panel and adhered everything onto a kraft card base.

Because the front of the card is basically covered in sentiments, I did not add anything more.  I did, however stamp a simple "love you" greeting on the inside of the card.


I finished the card off by using Icy Breeze Sequins in both the 4mm and 6mm.


Thank you for stopping by today!!  Wishing you all an amazing weekend!!

Laurie


Thursday, December 8, 2016

And The Fox Says....

Hello everyone!! I'm back to share a card using all brand new products from Studio Katia!!  And let me just say, the November release is absolutely amazing!!

I decided to use the new Foxes stamp set.  What is great about this set is that some of the images are solid.  Which means it is very easy to create a no-line colouring image even if you have trouble, like me, with this technique.  I stamped my image in a medium shade of a grey/brown ink.  Using some coloured pencils, I simply traced the fox in the darkest color and gradually blended a medium and light shade of brown.


I coloured a couple other images from the same set in the same way, then fussy cut them out.


I used the scalloped circle die from the new Dotted Balloons Creative Dies to die cut an area out of front panel.  This die (well the whole set actually) is fantastic!!  Not only does it cut out the scallop circle but it cuts this super delicate frame as well!!  So versatile.


I played around with the layout for a bit..


I first die cut the speech bubble from the Stitched Duo Speech Bubble Creative Dies from vellum but decided it blended in way too much.  Also, I felt there needed to be something behind the fox.  In the end, I die cut the speech bubble from kraft cardstock and adhered a piece of patterned paper behind the scallop cut out.  I white heat embossed the sentiment from the And the Fox Says... stamp set onto the speech bubble.


And here is the my finished card...


Thanks for stopping by today!


Featured Post

A Simple Thanks Card

Well, well, well. Look who decided to show up...me! It's been an awful long time yet again. I seriously thought I'd be well out of t...