Showing posts with label Creative Dies. Show all posts

Monday, August 28, 2017

Thank You Studio Katia!

Hello and welcome back!!  I'm here to share what is unfortunately my last post for Studio Katia.  Today I made a thank you card, which I think is fitting for this occasion.

I had a ton of fun playing with all the fabulous stamps and dies in Katia's shop and am very thankful for the opportunity to share them with you!

I started by stamping "thank you" from the Mini Thank You Stamp Set repeatedly onto some ivory cardstock using a very light beige ink.  I cut the panel down using the rectangle die from the Dotted Patterns Set 1.


To give the card a bit of interest and dimension, I used the Stitched Loops die and cut directly out of the panel.  I die cut this 4 times.  I stacked the outer frame using 2 of the die cuts and the inner circles has 4.  This gave a really cool effect.  After adhering the ivory panel onto a pink card base, I simply glued all the pieces into the negative space.


I die cut the "thank you" as well as three hearts out of the same pink cardstock.  These dies are from the Co-ordinating Dies to the Mini Thank you Stamp Set.  I used liquid glue to adhere the sentiment and the hearts and topped them off with a generous coating of Clear Wink of Stella and Glossy Accents.  I also used a few sequins from the Majestic Fusion sequins for a bit of added sparkle.


And that finishes the card!!  I want to thank Katia for the time she gave me on this team, it was wonderful!!

Thank you for stopping by today!  I'll be back soon :)

Laurie


Monday, August 21, 2017

Happy Fall Foxes!!

Hello everyone and welcome back!!  Well, it's undeniable, fall is in the air.  As I looked outside this morning, there are a few leaves on the ground.  I love fall, I just don't like what's coming next :(.

For today's card, I thought I'd use the change of season for inspiration.  This card has absolutely no colouring on it, just stamping and coloured cardstock.  I used one of the super cute fox images from the Foxes Stamp Set and used a couple of brown shades of ink to give it some shading.  Of course, I used my Misti for this!  I stamped the whole image in a light brown ink, stamped then inked only the lower portion in a darker brown and stamped again.  This gives a really pretty effect.  I also stamped the tree trunk and leaves from the same set onto different colours of cardstock. I die cut everything using the co-ordinating dies.


To create my little scene, I did a light wash of watercolour onto a scrap of watercolour cardstock.  Using the centre of the rounded edge label die from the Dotted Patterns Set 1, I gave that strip a really cute edge!!  I used the same die to cut a piece of brown polka-dotted paper and layered the two pieces together.  I adhered all my little bits and pieces to the watercolored piece and the scene was complete!


I was just going to adhere my little label onto an ivory card base but decided it needed just a little extra something.  So, I die cut the rectangle die from the Dotted Patterns Set 1 out of ivory cardstock. I adore all that dotted detail!!  The sentiment come from the Happy Stamp Set which I stamped in a mid-tone brown ink.


To finish off, I used a few sequins from the Autumn Fusion Sequin pack.

Thank you for stopping by today!! Have a great day!!

Laurie


Monday, August 7, 2017

Back to School with Studio Katia!

Hello and welcome back!!  This week we are celebrating Back to School on the Studio Katia Blog!!  There is still some summer left but you can almost "feel" fall coming and that means back to school!!  I was always an anxious kind of kid so the first day of school was always a little terrifying for me, really happy those days are over :).

Now onto my cards.  Yes, I made two cards but I'll mainly focus on the second one which I think is better.  But I'll share the first one and you can let me know what one you like better!


Now let me show you the card that I thought just wasn't as cute:


Let me know what one is your favourite!!  Also, please visit the Studio Katia for all the details on the making of these cards!!

Stay tuned to the SK blog this week because there's more "Back To School" projects to share!!


Have a great week, everyone!!

See you soon!

Laurie


Monday, July 31, 2017

Monday, July 24, 2017

Die Cutting and Colouring Birthday Card!

Hello everyone and welcome back! I'm here to share a super fun birthday card for Studio Katia!  One of my favourite things to do is die cut!! There is something so satisfying when you remove that piece of cardstock from the die.  Another one of my favourite things is colouring.  I recently invested in some Copic markers and am loving them!! So, let's check out my project!!

I started by cutting the rectangle die from the Dotted Patterns Set 1 out of some white cardstock.  I knew I wanted some sort of banner on this card so I took the small scalloped edged die and ran this through also with white cardstock.


This particular die is very cool.  It can be used to create pretty slits in your projects to insert gift cards, etc.  In this case, I trimmed it to become a banner shape.  I layered this piece onto black cardstock and trimmed around it to give some contrast...you will see this in the finished card :)

Next, I stamped the presents and party hats from the super cute Kobi the Birthday Bear stamp set and chose some Copic markers.

The presents to the right was a total human error! Please ignore.

I love the shapes and designs on these images! Whimsical and so much fun to colour!  I die cut everything out with the Co-ordinating Dies.


Before I put my card together, I decided the white panel was a little too stark, so I squished some Black Soot Distress Ink onto an acrylic block, added water and using a brush, created some splatters.


I started by adhering my banner directly onto the card panel.  For the sentiment, I white heat embossed "Happy Birthday" onto a strip of black cardstock (the sentiment is also from Kobi).  I snipped one end to make a fishtail banner.  I adhered this on top of the banner.


I placed some black and white ribbon around the top of the banner and sentiment and adhered the panel on to a white cardbase using fun foam.  I adhered the hats and presents in a fairly random order using a combination of tape runner and foam adhesive.


For a bit of added sparkle I used various sizes of sequins from the Crystal Clear Fusion...love these things!!

I hope you enjoyed todays project and got inspired to do some colouring and die-cutting!!  Thank you SO much for stopping by!!


Have a great week!!!

Laurie


Monday, July 17, 2017

#LOVE with Distress Oxide Inks

Hello, all!!  I'm back to share a bright and happy card!  I recently received the new set of Distress Oxide Inks and just had to have a play.  This card also had a couple of "happy accidents" which I'll point to you :)

I started by picking some rainbow colours of the Oxides.  I chose Picked Raspberry, Twisted Citron, Peacock Feathers, Spiced Marmalade, Wilted Violet and threw in a bit of Faded Jeans.

I used Bristol cardstock which worked beautifully.  I started stamping the outline heart shaped from the Sweetheart Candy stamp set.  I tried to create a random pattern using different colours.  Then, taking a damp paintbrush, I added water to the inside of the heart.  As soon as the water touches that ink, it starts to bleed...in a good way!  It feathers the ink towards the inside of the heart but yet maintains a crisp outline image, love it!!


Happy accident #1:  At some point while stamping, I turned the panel to start filling in the gaps.  This resulted in the hearts going in two different directions.  Totally not what I had in mind, but I went with it and in the end, really liked it. The small heart comes from the Foxes stamp set.  These two hearts are exactly the same shape.

I wanted to leave the insides of the hearts white but didn't want the end result to have so much white space.  So I smooshed some Broken China Oxide Ink onto a non porous surface, spritzed it with water and applied it CAREFULLY around all the hearts.  I'm not sure if it was the ink or the paper, but I ended up with a lot of hard edges and I LOVE hard edges to watercolour!


I used the rectangle die from the Dotted Patterns Set 1 die set.  I adhered that onto a piece of textured, white cardstock that was trimmed just slightly larger than the heart panel.  For my card base, I used a blue cardstock that went well with the Broken China Distress Oxide Ink.


The sentiment also come from the Sweetheart Candy stamp set.  I used a sentiment strip die and embossed the #love with Silver Embossing Powder.  I layered the sentiment onto the same blue cardstock to make it pop a bit more.  Before adhering the sentiment, I put a messy nest of silver thread behind.


And of course no card is complete without some Studio Katia sequins!!  I used a few of the flat sequins from the Majestic Fusion sequin mix and added a dot of Silver Stickles to the centres.

Happy Accident #2:  I meant to round the bottom two corners but grabbed the wrong punch, so ended up with these corners!!  But again, I think it looks okay!!


And that's my finished for today!  I hope you enjoyed!!  Thank you for stopping by!  Until next time..

Laurie


Tuesday, July 11, 2017

Christmas in July with Studio Katia!!


HO, HO, HO!!!  This week at Studio Katia we've been celebrating Christmas early!!  On one hand, it's nice to mix things up in the middle of the year by taking out your winter stamps and having a play.  On the other hand,  it's too soon to think about snow and winter (we get about 6-7 months of winter here, so I plan on enjoying summer while I can!).

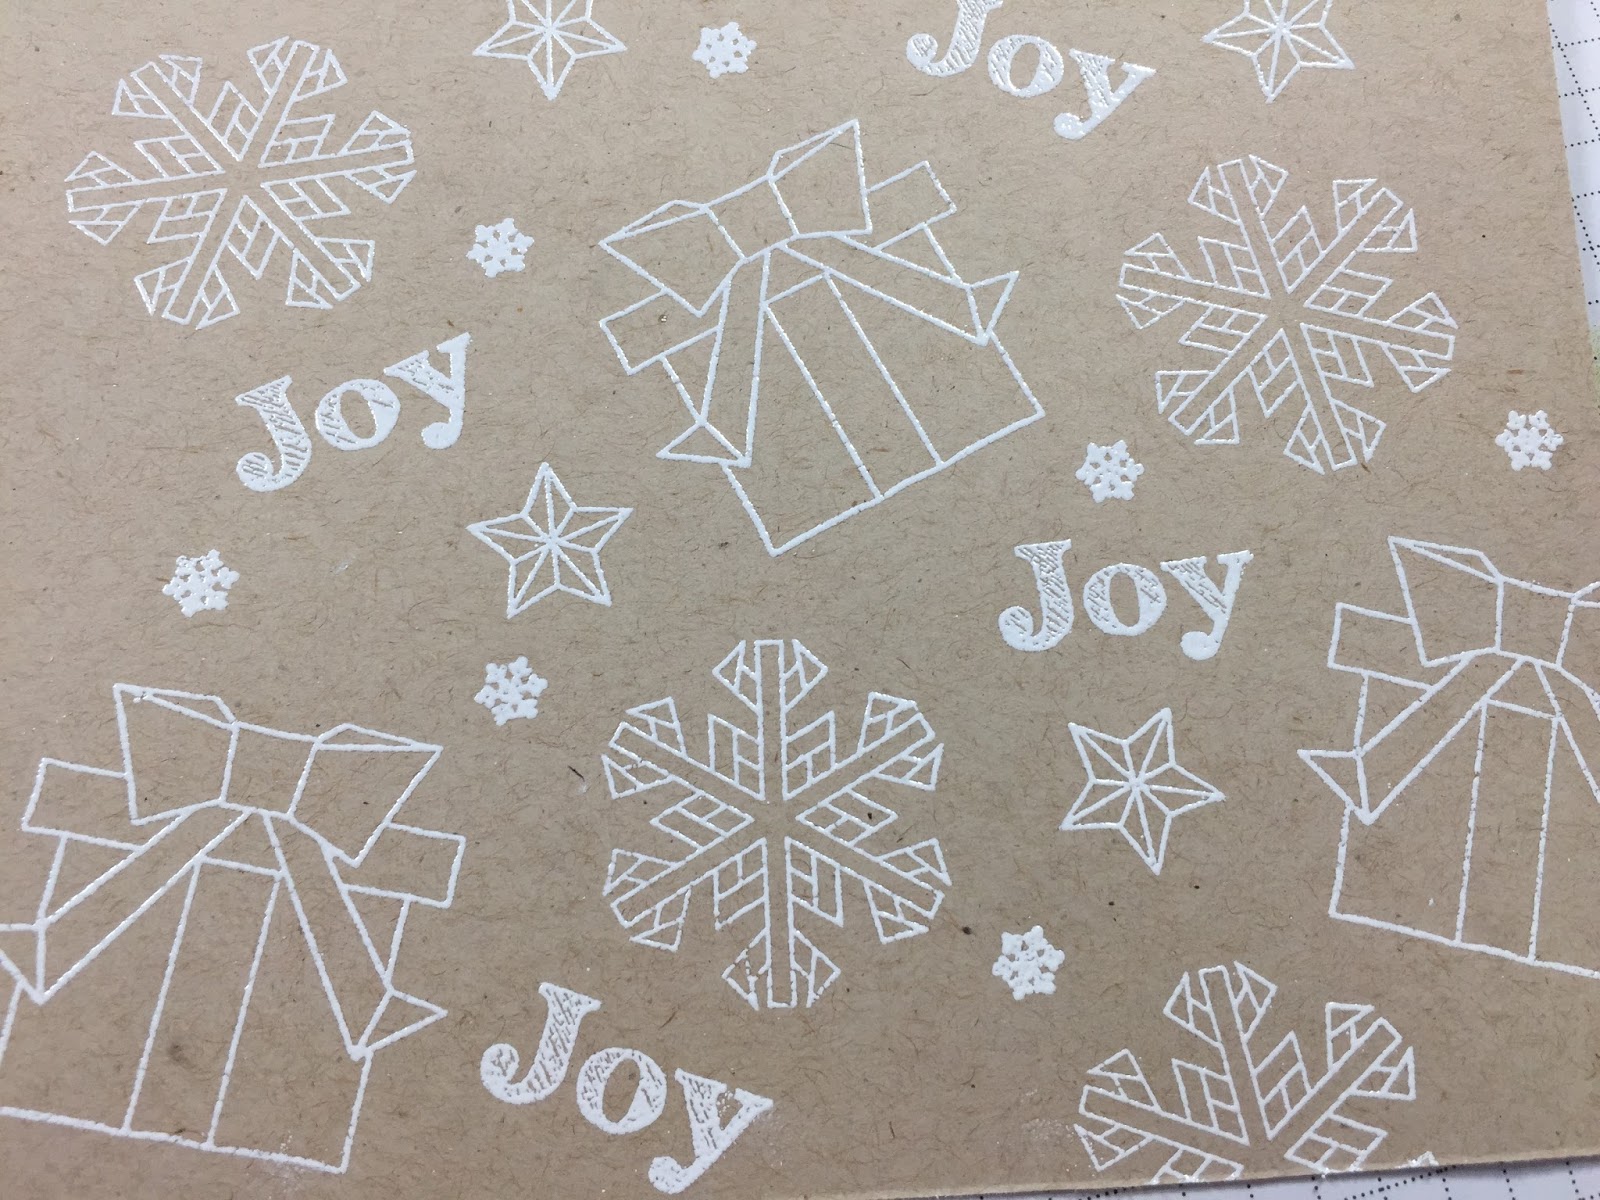
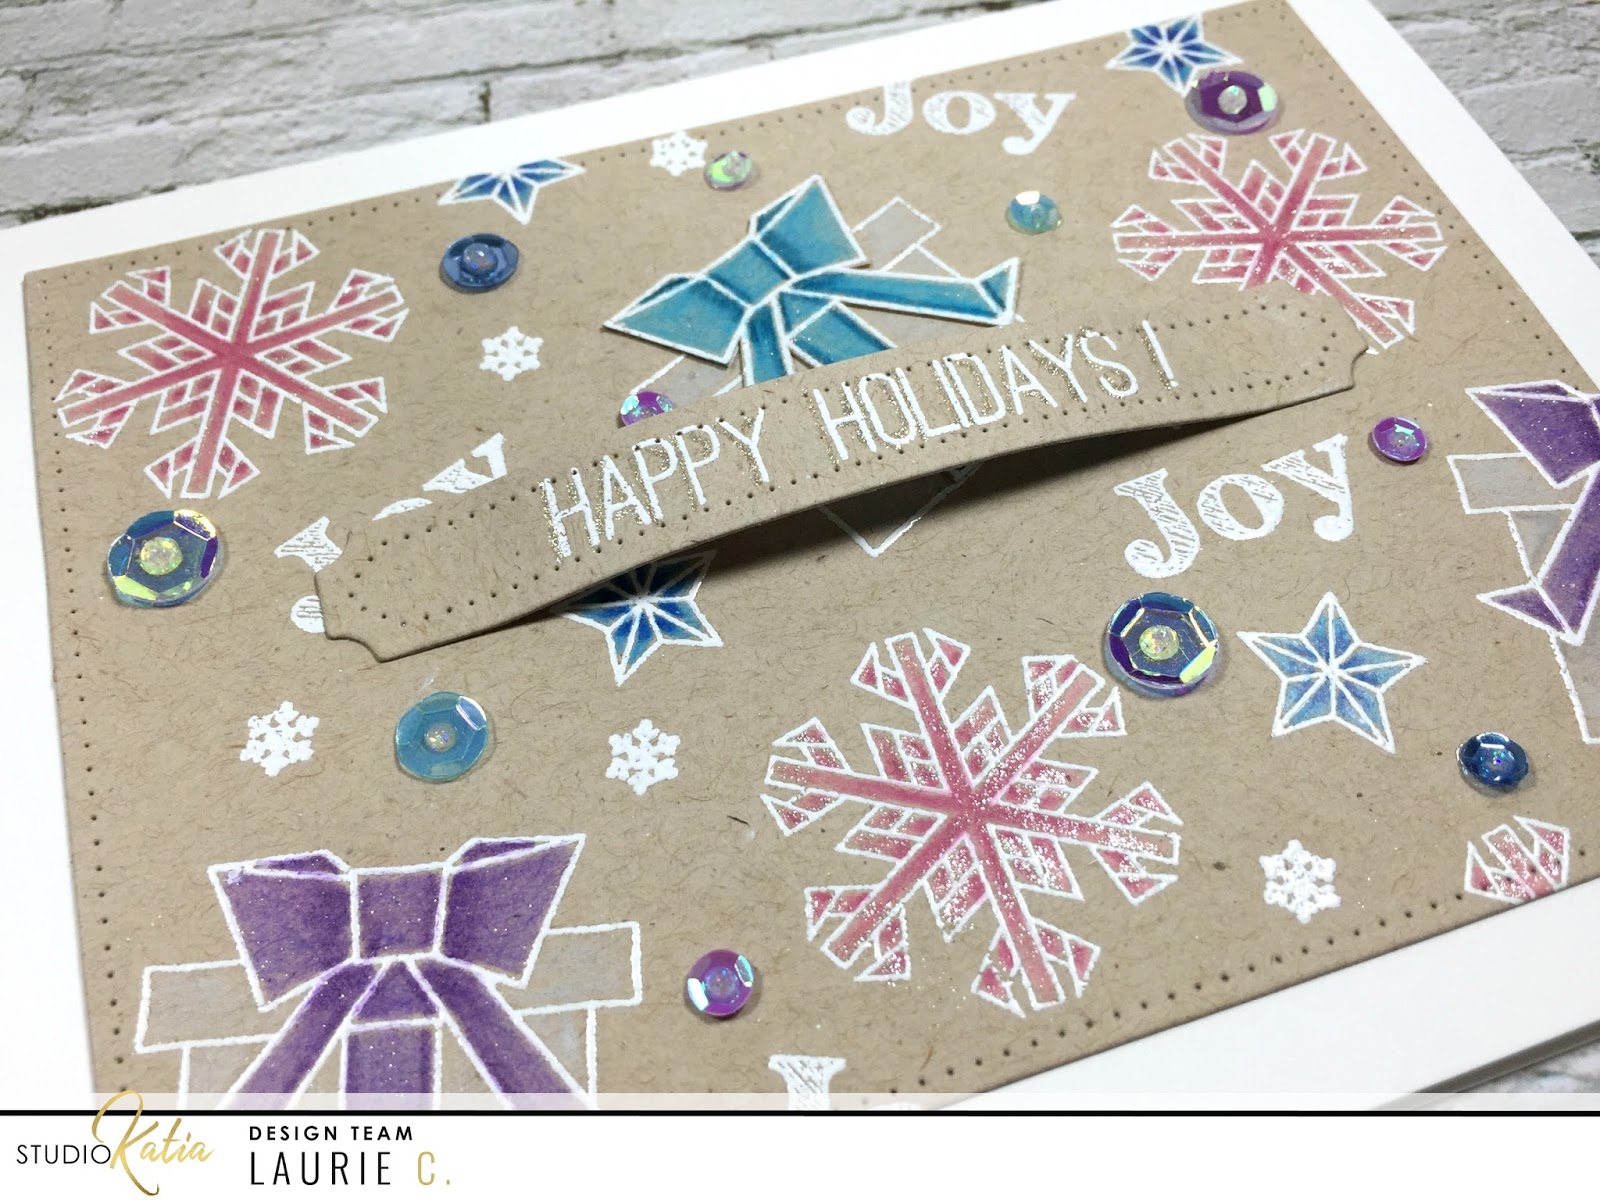
To bring some summer into my winter card,  I used non-traditional Christmas colours.  I started by stamping a few of the images from the Origami Winter stamp set using Versamark Ink and then embossed them using Ranger Fine Detail white embossing powder.  I decided I wanted to colour on kraft with pencils crayons.  Seems like ages ago that I used my pencils!!


I chose two shades of each colour:  pink, turquoise, purple and blue.

I use the Lyra Rembrandt PolyColor pencils and love them!

After I had all the images coloured, I decided that the one bow was way too dark in comparison to my other colours.


To remedy this little problem, I restamped the present and heat embossed like before, chose a couple of lighter colours then fussy cut around the bow portion only.  I used a bit of TomBow liquid glue to adhere it right over the dark bow.


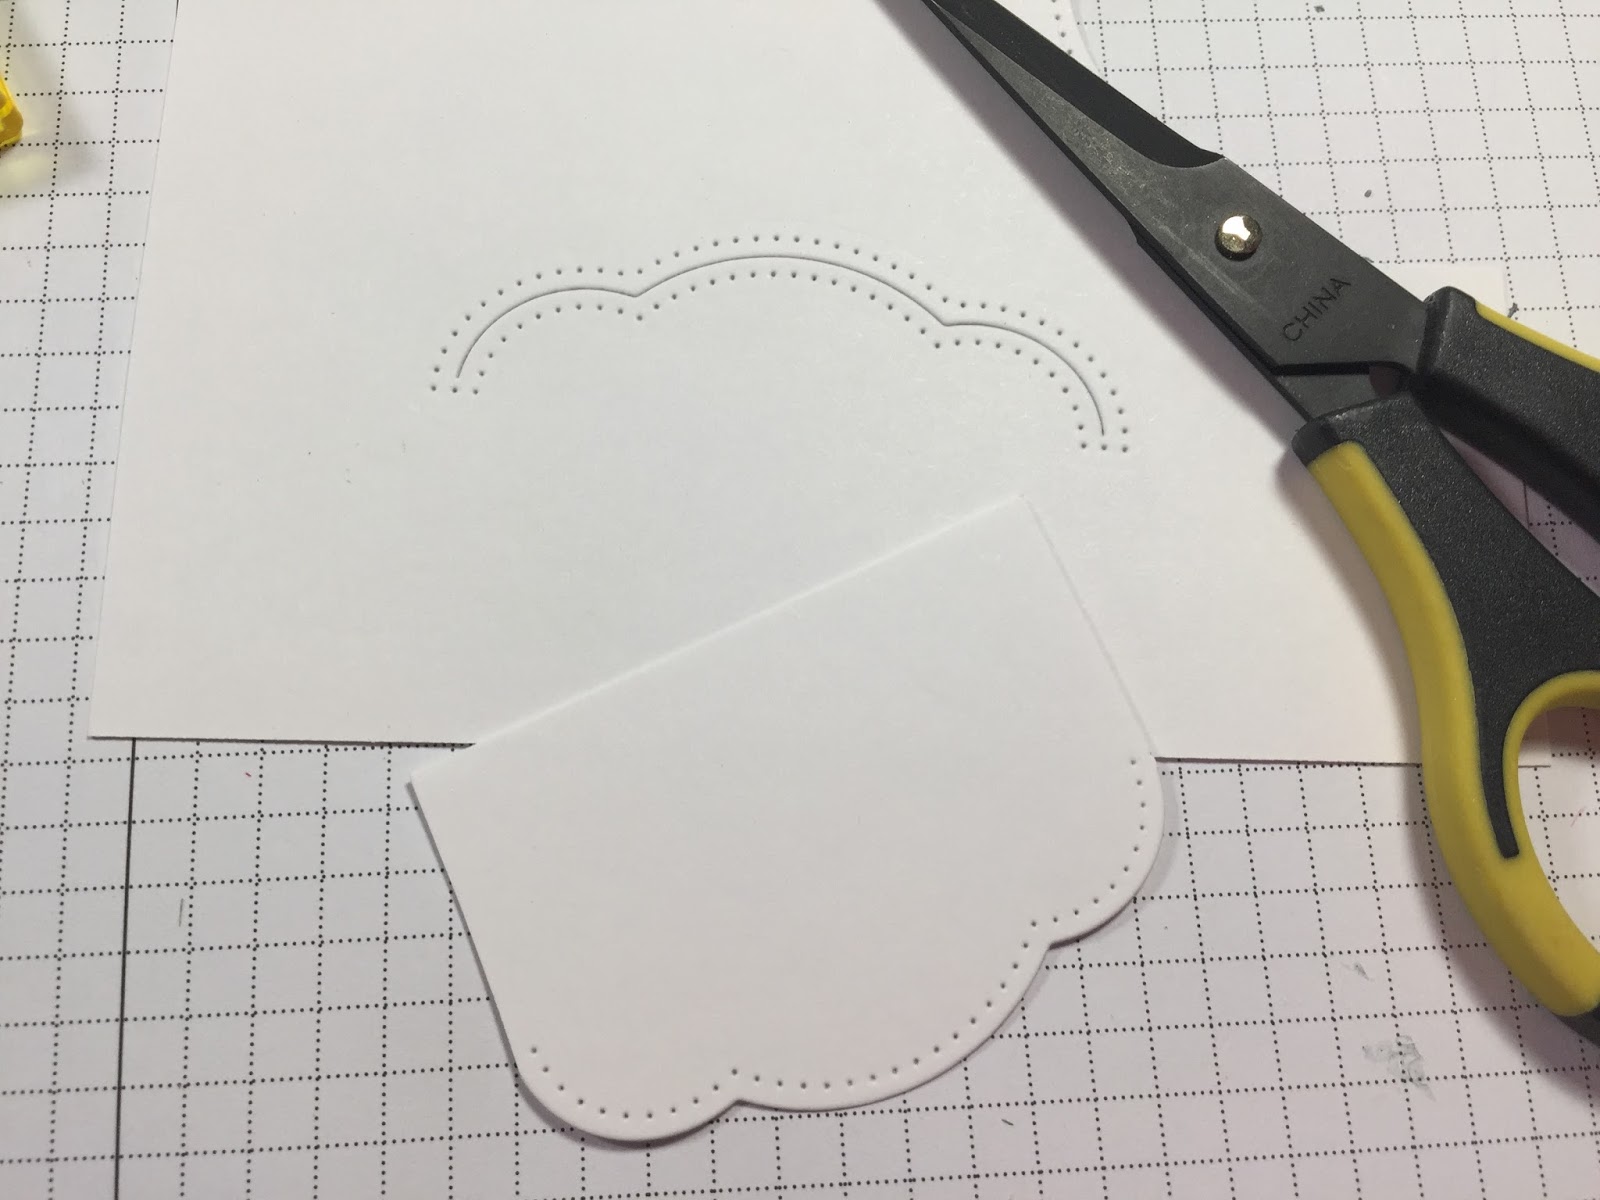
I cut down the kraft panel using the rectangle die from the Dotted Patterns Set 1 and adhered directly onto an A2 white card base.


The sentiment also come from the Origami Winter set.  I white heat embossed it onto the sentiment strip from the Darling Ribbon and Dotted Frames creative dies set.  To give it a bit of dimension, I added two layers of foam adhesive to the middle of the strip and used liquid glue to adhere the ends.


With a few touches of Clear Wink of Stella, the card was almost done...


I went through my stash of SK sequins and picked out a few that matched my colour scheme.  I used the 8mm sequins from the Crystal Clear Fusion,  a few 4mm Luminous Lavender and picked out a couple light blue sequins from the Winter Wonderland Fusion.


I hope you enjoyed today's "Christmas in July" card!  Thanks for stopping by and see you soon!!

Laurie


Saturday, July 8, 2017

Studio Katia and Sunny Studio Stamps Collaboration Blog Hop!!!!


Hi everyone!!!  Today is an exciting day!  Studio Katia and Sunny Studio Stamps have teamed up to do an incredible collaboration blog hop!!

Both teams are celebrating Summer Time with fun and colorful cards using stamps from Sunny Studio and dies and embellishments from Studio Katia. There's prizes too! Both companies have a prize to give away so make sure you read all the way to the bottom of this post to see how to win!

For my project today, I am using a bunch of dies from Studio Katia and the super adorable A Bird's Life stamp set from Sunny Studio.  This card has lots of layer and was so much fun to make.  One of my favourite things to do while card making is combining companies, and let me tell you, these two companies play VERY well together!!

I knew right away that I wanted to use the Stitched Creative Window die from SK.  I cut that from white cardstock.


I also used the rectangle die from the Dotted Patterns Set 1 to cut out some blue polka dotted patterned paper and the large rectangle from the Darling Ribbon and Dotted Frames die set with white cardstock.

I love the dotted details of these sets!!

I stamped almost every image from the A Bird's Life stamp set with Versamark Black Onyx ink onto some Smooth Bristol cardstock.  I used a variety of TomBow Dual Brush Pens along with the Dual Brush blender to colour those sweet images.  Before putting my scene together, I blended some Faded Jeans and Tumbled Glass Distress Inks onto the bottom portion of the three die cut "windows" created from the Stitched Creative Window die.


To make my scene, I started by adhering the outer white frame directly onto my blue polka dot panel. I adhered all the window portions using foam adhesive.  The birdhouses, trees and birdies were adhered using a combination of adhesives to give a bit more dimension!


The sentiment was stamped onto the sentiment strip die that's also a part of the Darling Ribbon and Dotted Frames die set...that sentiment looks like it was made for that die!!!  To finish this card off, I used my absolute favourite embellishments...the Clear Round Drops Mix.  Those drops go with ANYTHING!!!

I did add a few details on the birds with a white gel pen and a bit of glitter and shine to the openings of the bird houses with a Stardust Glitter Pen and some Glossy Accents.


Eeeek! It's just so cute!!

And a close up...


Now for the fun stuff!!

★GIVEAWAY!★
To celebrate this Summer Time Hop we are giving away THREE prizes - one prize pack from Studio Katia and two $25 store credit from Sunny Studio! 


Here's how to win:
Comment on the Design Team blogs from Sunny Studio and Studio Katia team blogs (see list complete list at the Studio Katia and Sunny Studio Blog)! 
The winner will be chosen at random from the collective blog hop posts. Make sure to check out each of their blogs and comment for your chance to win. You will not know which blog has been chosen so the more you comment on the better your chances are of winning! 
You have until Monday July 10th at 12pm EST to comment - winners will be announced on the Sunny Studio and Studio Katia blogs on Wednesday July 12th.

Here's the complete blog hop list:

Have fun hopping and Good Luck!!

Laurie

Monday, June 26, 2017

Flower Shaped Tags!

Hello everyone and welcome back!! I'm here to start your week off with a bit of a different project for my Studio Katia.  I decided to make some shaped tags (could be used as cards too, I suppose)!  This idea came to me as I was drifting off to sleep on Saturday night...does that happen to anyone else?  Just random craft thoughts pop into your head at any given time??

I used the large flower image from the Thank You So Much stamp set. Instead of stamping the image the right way and then colouring it, I used the back side of the side first (so instead of inking the lined image side, I inked the flat, back side of the stamp).


This is Cracked Pistachio Distress Ink spritzed about 4 times with water.  After pressing the stamp onto watercolour paper, this is the result:


When you lift the Misti door, the water and ink will pool in one spot, giving you a different look every time!  I stamped 3 more flowers using Worn Lipstick, Peacock Feathers and Spiced Marmalade.  After the images were dry, I flipped the stamp right way up.  Because the first layer is the mirror image of the actual stamp, it took some time to figure out good placement.  But because the flat side of the stamp is actually larger, the lined image fit well!

I inked of the stamp with Versamark Ink and used different embossing powders on each one.


Next, I die cut each of the flowers along with 4 pieces of ivory cardstock with the co-ordinating die.  On the ivory piece, I scored about 1/2 inch from the top and applied some Scor-Tape.  This will create the back of the tag.


This is everything adhered together:


I used a regular hole punch to make holes in the top of the flowers for some ribbon to go.  For the sentiments, I used some of the fabulous word dies that are available in the shop!  I die cut the "thank you" from the Thank You So Much Dies, and both the "hello" and " lovely" come from the new You're So Ranunculus dies.  All of these were cut out with the same ivory cardstock.

I used Multi Matte Medium to adhere the die cuts onto each tag, looped some ribbon through the holes and the tags were almost done!!  For embellishments, I used some large and small clear round dots from the Mixed Pack.  And across each sentiment, I brushed some Spectrum Noir Clear Sparkle.


Once I stamped one, I had to keep going and make a few different ones!  These were really easy to make and I love the variation of colour you get using the wet stamp!!

Thank you so much for joining me today!  I hope you all have a fabulous week!!

See you soon!


Featured Post

A Simple Thanks Card

Well, well, well. Look who decided to show up...me! It's been an awful long time yet again. I seriously thought I'd be well out of t...